Published
Use Portfolio Starter to create a personal site with projects, pages, and posts
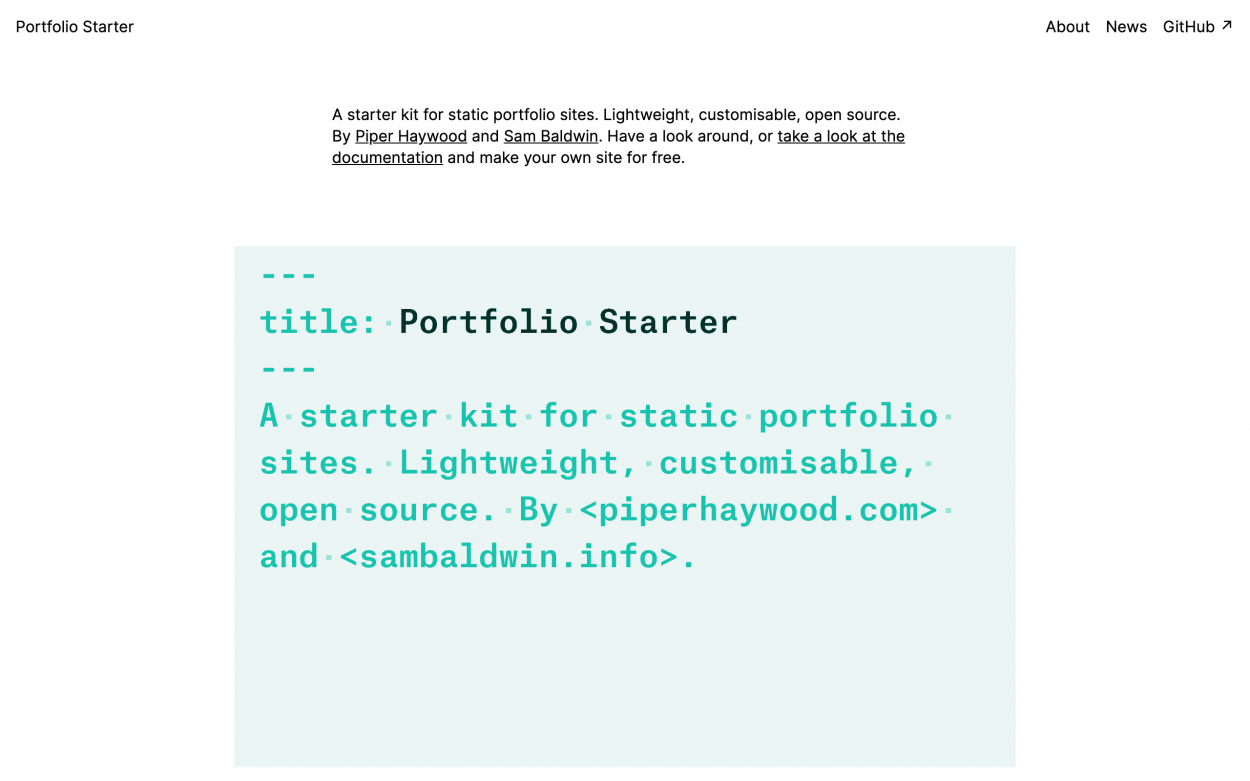
This tutorial will teach you how to set up a personal website using Portfolio Starter, a starter kit for portfolio-driven websites made by Sam Baldwin and me. Check out the demo site to get a feel for how it looks, and visit the GitHub repo for more on how it works.
The tutorial is geared towards people that have little-to-no coding experience and are unfamiliar with things like GitHub, Eleventy, and Netlify. By the end of the tutorial you should understand terms like “repository” and “static site”; you’ll be able to edit your projects, pages, and posts; and your website will be hosted for free. Though basic experience with code such as HTML or CSS may be useful, it isn’t necessary for this tutorial since we’ll be using the hosting user interfaces to set this all up.
Contents
- Understand the nuts and bolts
- Set up your own version
- Explore your new GitHub repository
- Edit and remove the default content
- Add new content
- Take it further
Understand the nuts and bolts
Portfolio Starter is built with a static website generator. A static website is a site that does not have a database. Static sites are great since they usually load faster than database-driven websites, but they can be cumbersome to create if you have more than a few pages. Static site generators make the creation of static website much easier by automatically generating every page on a website from more human-readable text files.
There are a lot of static site generators out there, but for Portfolio Starter though we’ll use Eleventy. Eleventy can be configured in countless different ways depending on what you want out of your website. We won’t modify the existing configuration as part of this tutorial, but feel free to look at the Eleventy documentation if you are curious about how it works.
Almost all of the text content in Portfolio Starter is written in Markdown, and the data associated with each page is written in YAML. Both Markdown and YAML are intuitive, human-readable ways to write plain text that can be converted directly to structured data. Markdown is useful for converting to HTML, and YAML is useful for more granular data such as a page title or description. If you’re ever unsure of how to format something in Markdown, search for it online or refer to the Markdown documentation.
We’ll keep our source code in a repository or repo, and we need a repository host to store the repository. There are a lot of great repository hosting providers out there, but we’ll use GitHub in this tutorial.
So GitHub will host our source code, but they can’t host our static website and display it to the world. To do this, we need a web hosting provider. We’ll use Netlify, one of a few newer hosting providers that specialise in static websites. Netlify offers a generous free tier and integrates neatly with GitHub so that when we make changes, Netlify will compile our website and push our changes automatically.
There are a handful of content management systems (CMSs) that can be used with Eleventy, but we won’t integrate a CMS in this tutorial. Instead, we’ll use GitHub to edit our content directly.
Set up your own version
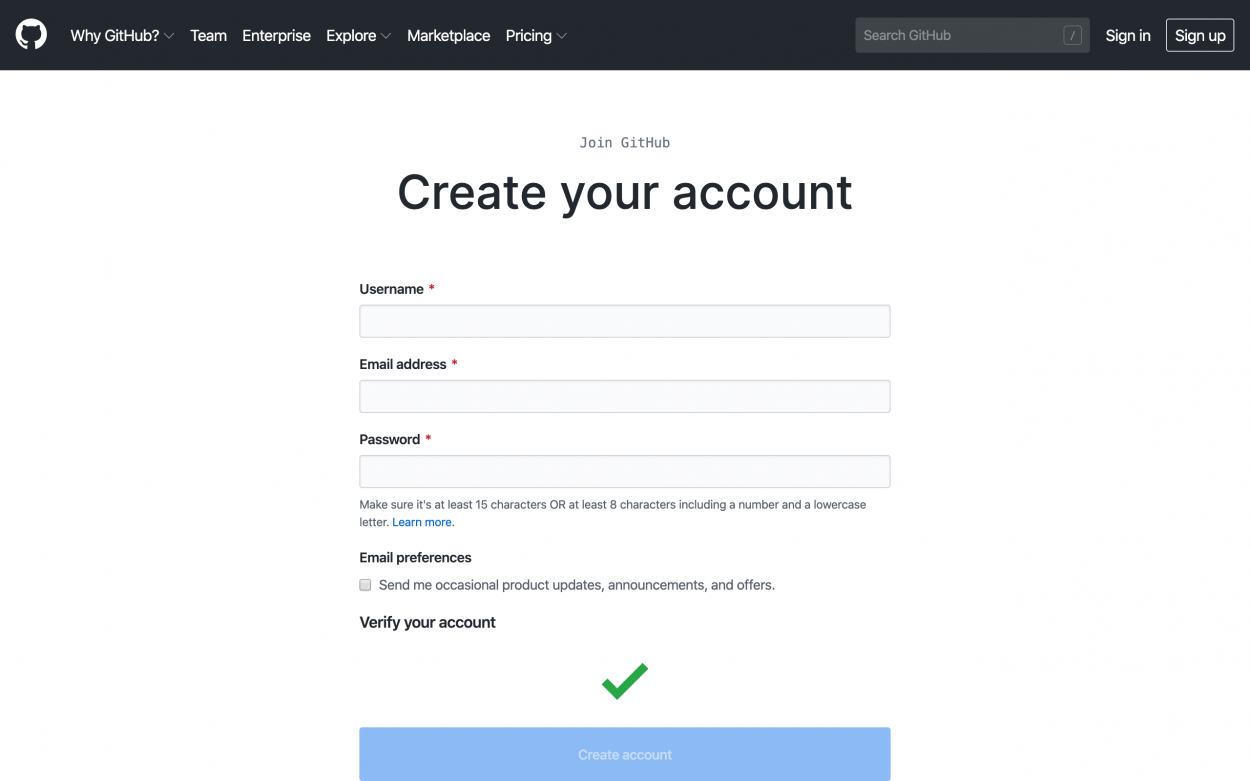
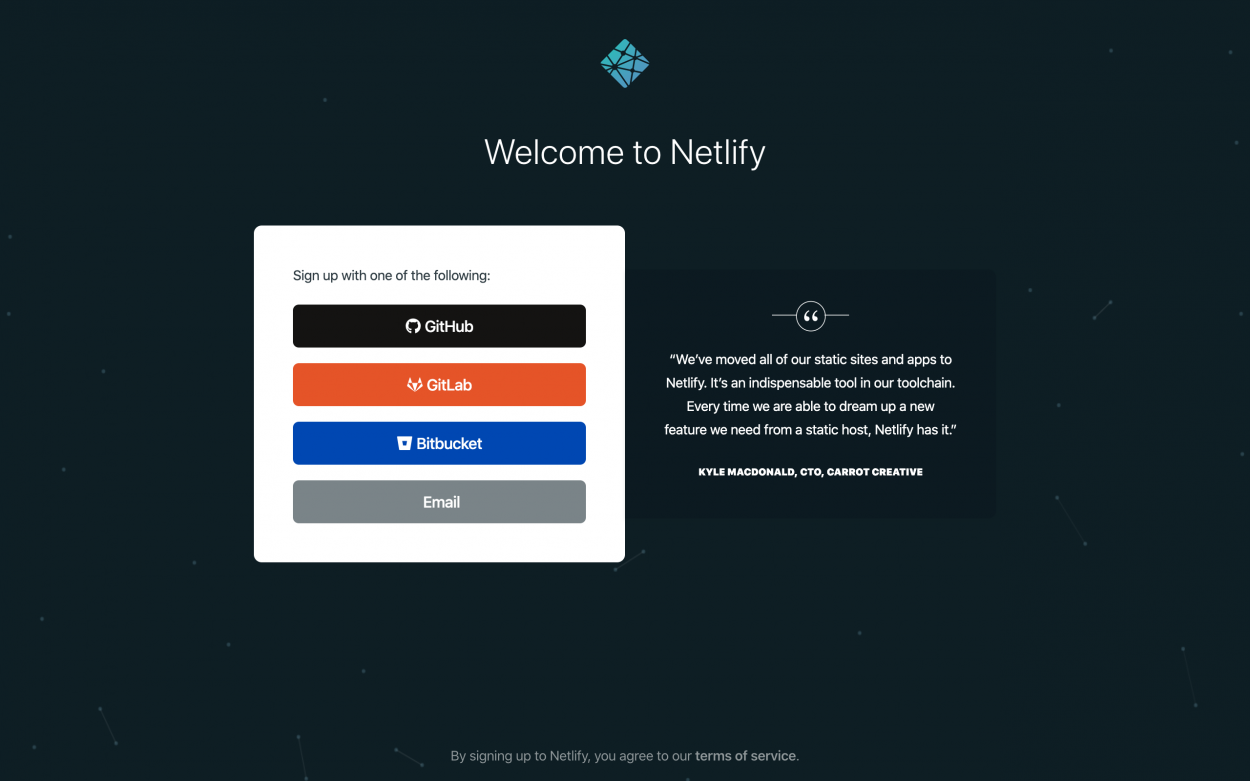
Sign up or log in to your GitHub and Netlify accounts
Log in to your GitHub account if you already have one. If you don’t have a GitHub account, go ahead and sign up. The free tier should be sufficient.
Log in to your Netlify account if you already have one, otherwise sign up for an account. You can use your GitHub to sign up if you wish, this may make later steps a little simpler.
Keep an eye on your email while you set up these services, you may need to verify your email address as part of the signup process.
Deploy a copy of Portfolio Starter
Once you are logged in to your Netlify and GitHub accounts, click the button below to make a copy of the Portfolio Starter repository on your own GitHub account and deploy your copy to Netlify.
Follow Netlify’s instructions to connect to GitHub, set up your repository, and deploy the site.
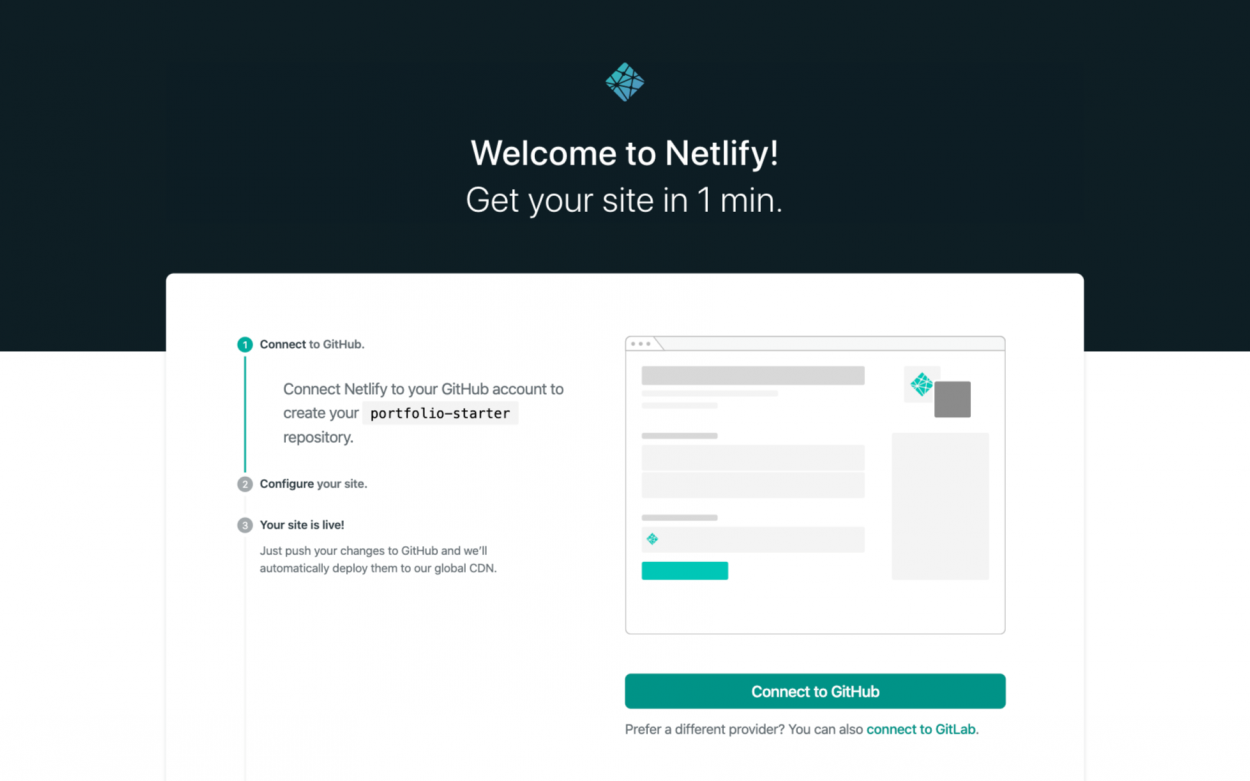
The name of your repository should be something similar to the name or purpose of your website. It should only include lowercase letters, numbers, and dashes since it will form part of the repository’s URL. For example if I was setting up a new repository for my own site, I might name it personal-site and then you would be able to find my repository at the URL https://github.com/piperhaywood/personal-site.
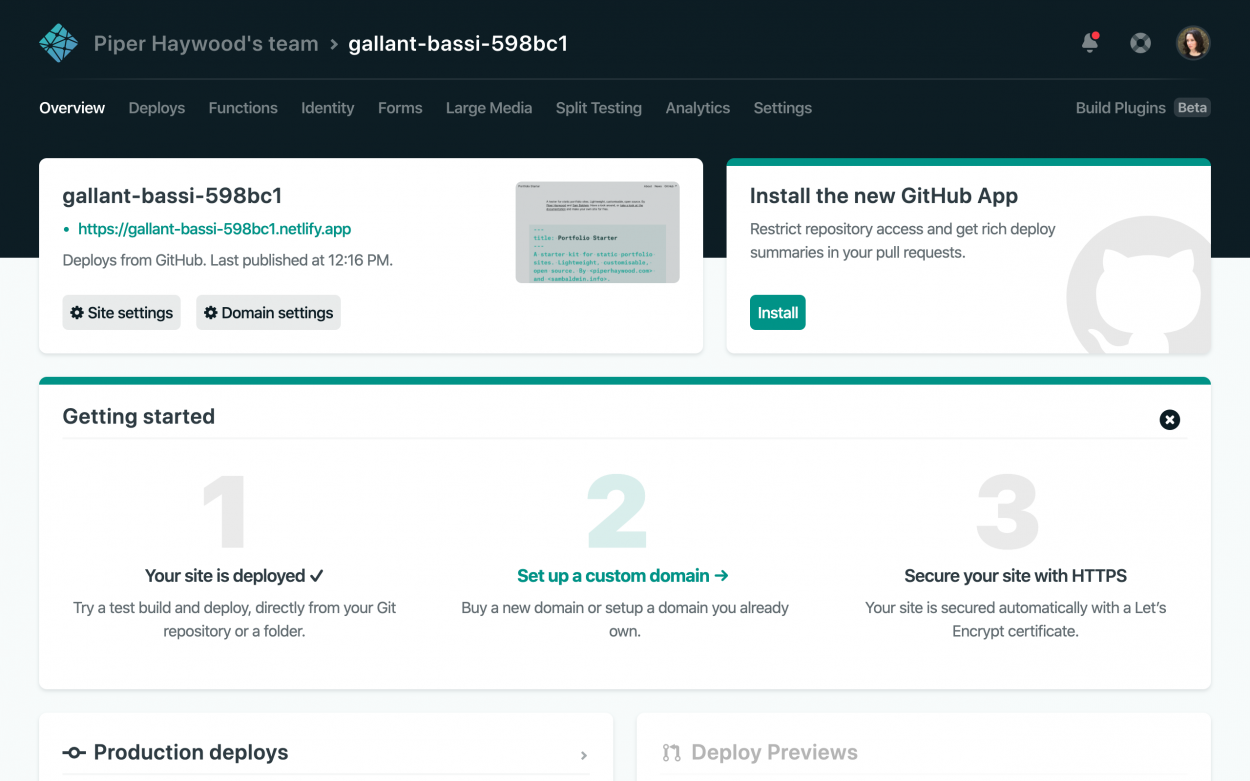
When you’re done deploying to Netlify, you’ll receive a few emails letting you know that the services are connected and you’ll be redirected to your new website dashboard in Netlify. Your website dashboard displays important information about your site such as the default subdomain URL and the time it was last deployed. You probably won’t use the dashboard very often once your site is set up, but you’ll need to visit it if you want to change any domain settings or troubleshoot any deployments after you make content changes.
Your GitHub repository will be public by default, meaning that anyone could see it if they came across your GitHub profile or repository. If you want to change that, check out the GitHub documentation to learn how to change your repository visibility.
Explore your new GitHub repository
Head to your new repository in GitHub to explore the files. If you haven’t completed the deploy steps above yet, you can take a look at the files in the Portfolio Starter repository instead.
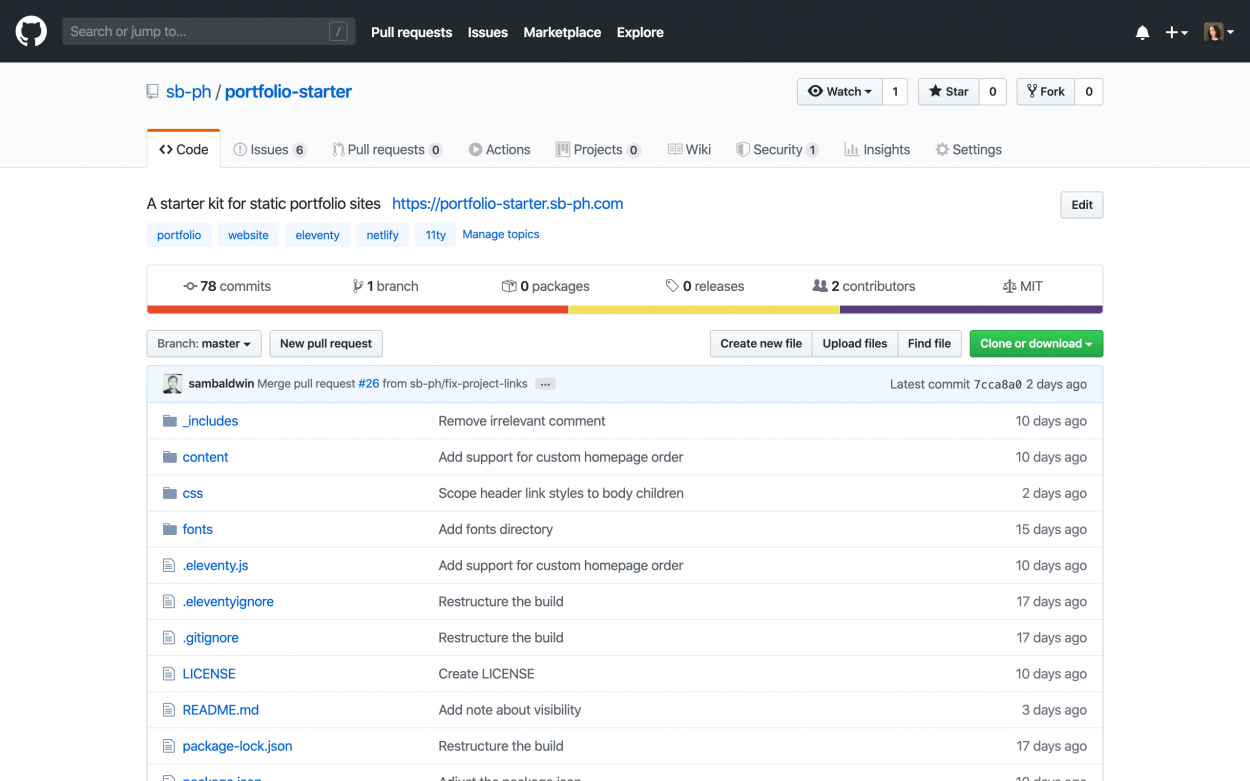
Navigate files and folders in GitHub
The file explorer gives you a list of the files and directories within the repository. “Directory” is essentially another word for a folder. When you’re on a repository’s homepage, the file explorer shows you all of the top-level files and directories. The top level is what we call the root or root directory.
You can click a file to view or edit its content, and you can click a folder to view the folder’s contents. In the file explorer, the text to the right of the file or folder name lets you know the last change that was made to that asset, and the date to the far right of it tells you when that change was made.
Digest the file structure
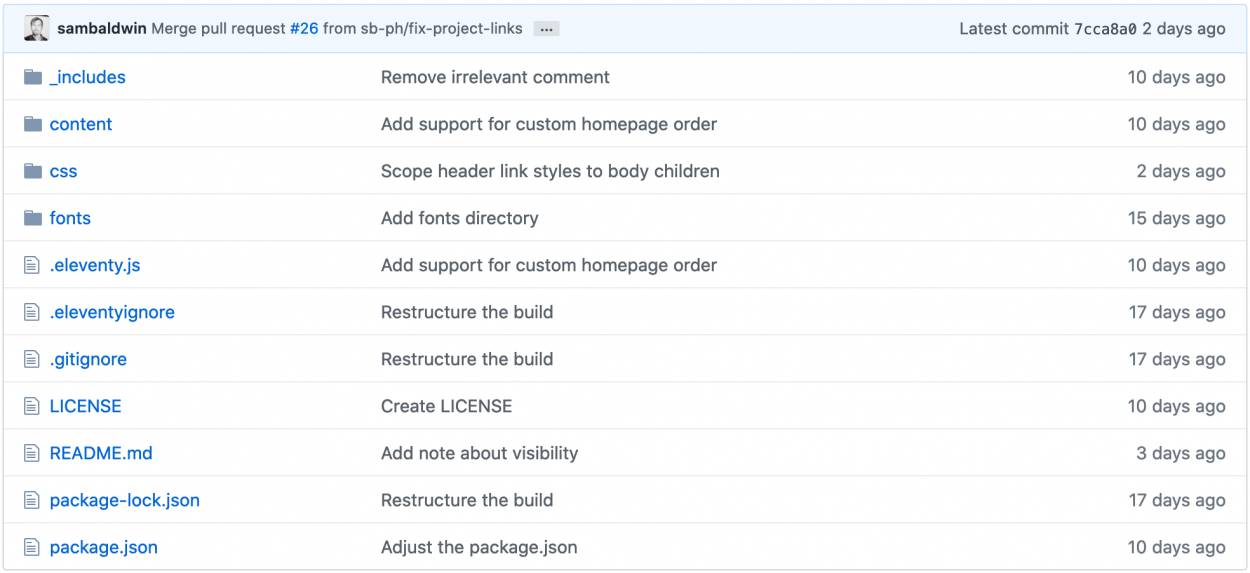
The root of the project contains the following files and directories. Directories are preceded by a slash / below:
/_includes
/content
/css
/fonts
.eleventy.js
.eleventyignore
.gitignore
LICENSE
README.md
package-lock.json
package.json
The files in the root are related to the development of Portfolio Starter, and they could be modified if you wanted to extend or change your version of Portfolio Starter. That is outside the scope of this tutorial, but this is a brief description of each file:
.eleventy.js– Loads plugins and dependencies and configures Eleventy for our purposes.eleventyignore– Tells Eleventy which files not to compile for our static site.gitignore– Tells Git, version control software, which files not to store in version controlLICENSE– The license that applies to the code in this repositorypackage-lock.json– The full dependency tree generated bypackage.jsonpackage.json– Holds important information about our repository including all of the NPM dependencies
The directories in the root include template files, styles, and fonts. All of the content on the website—the text, metadata, and images—lives in the /content folder. If you click the /content folder in the file explorer, you should see the following files and folders:
/_data
/media
/pages
/posts
/projects
404.md
index.md
posts.md
rss.md
As you can see, the majority of the pages are organised in to folders much like you might organise files on your own computer. This content structure is critical since it determines how our URLs are structured and tells Eleventy where to find different types of content.
How to commit changes in GitHub
You can edit, create, delete, and upload files directly in GitHub. Every time you make a change though, you have to commit the change.
A commit is kind of like a super-powered way of saving your content. Commits an important part of the widely-used version control software Git, and Git is an integral part of GitHub. By committing a change, you’re adding it to the full log of changes in your repository.
When you commit a change in GitHub, you can use GitHub’s default commit message and description or you can customise them. You should always commit directly to the master branch (the default setting) unless you understand Git branching.
Every time you commit a change, your change will be deployed to your website on Netlify. It isn’t instant, so give it a little time to deploy before you refresh your site. If you want to check on the progress of a deployment, if your changes don’t seem to be deploying, or if you can’t remember the URL for your site, visit your Netlify website dashboard for more information.
Edit and remove the default content
Portfolio Starter contains all of the content used for the demo site by default. This isn’t appropriate for your own site, so let’s clean things up a bit.
The steps below will guide you through making certain specific changes. For more general guidance, see the content reference within the Portfolio Starter documentation.
Edit the global data file
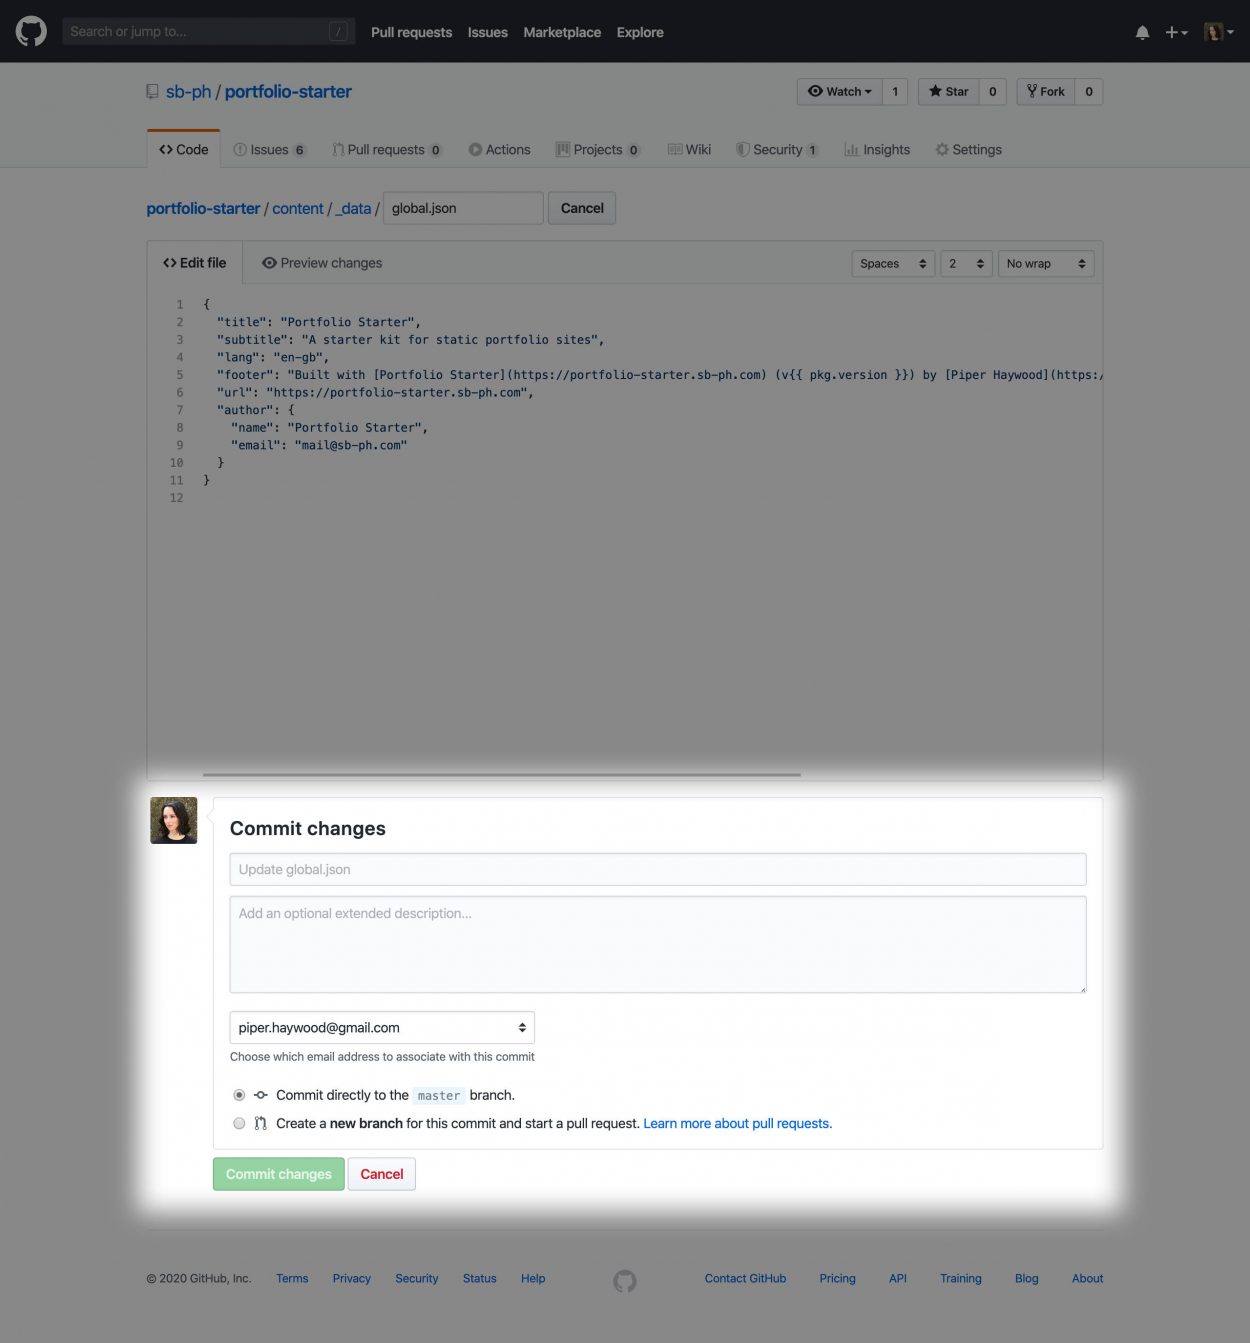
Certain bits of information such as your website title and URL are used globally, meaning throughout your website. Navigate to the /content/_data/global.json file in your GitHub repository and click the Edit button in the upper-right above the file contents to edit the global data file.
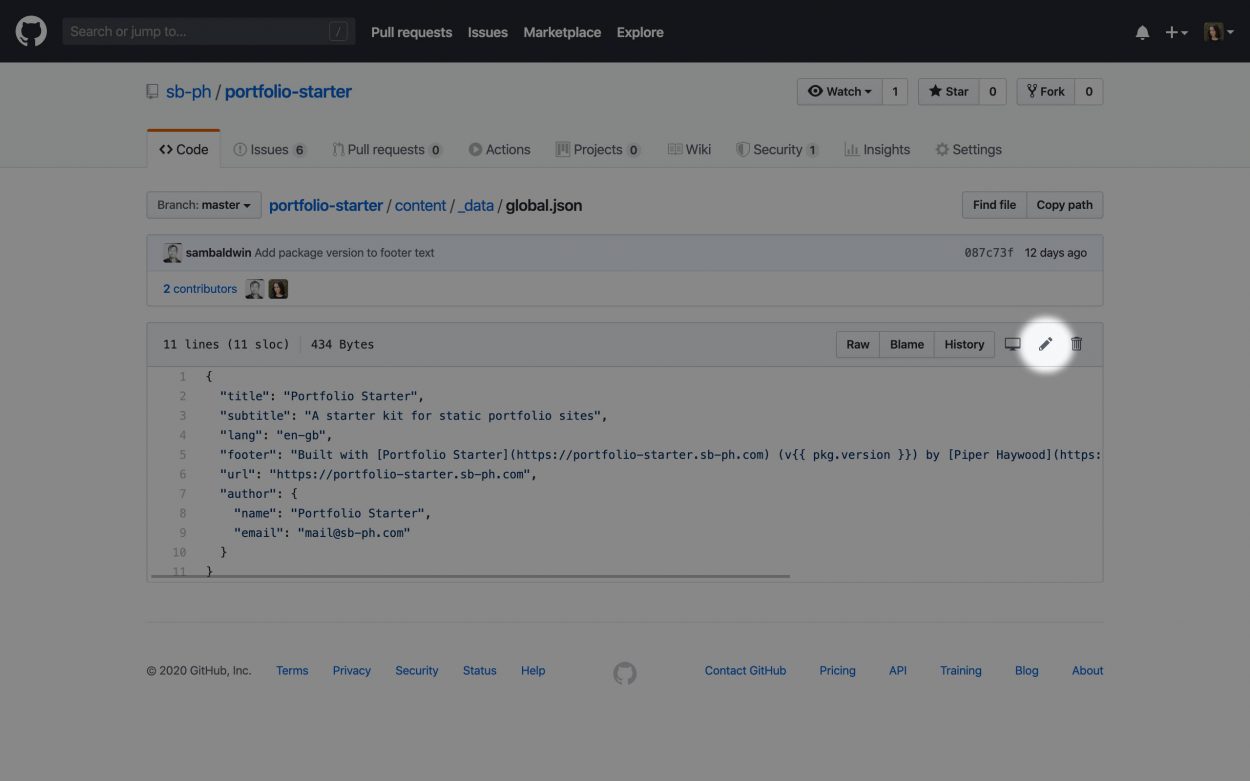
As you may be able to tell from the file extension, this particular content is written in JSON. JSON is pretty strict, so you need to be careful making changes. You should preserve any existing quotation marks or commas; these are an important part of the JSON syntax and your site will not compile if the syntax is incorrect.
At minimum, you should change the title to your own name instead of “Portfolio Starter”, the URL should match the URL that is shown on your Netlify website dashboard, and the author information should reflect your own name and email address.
When you are happy with your changes, commit them by clicking the button at the bottom of the screen.
Edit the homepage
The homepage includes a short description and a selection of projects. If we don’t specify the project selection, the homepage includes all projects ordered by end date by default.
To edit the homepage, find the /content/index.md file in your repository and click the Edit button.
First, let’s remove the default projects by editing the page’s frontmatter. The frontmatter is all of the text encased within the three dashes ---. To remove the default projects, go ahead and remove all of the frontmatter related to the entries property until the frontmatter looks like this:
---
layout: home
---
Next, we’ll edit the homepage text. This is written in Markdown and lives beneath the frontmatter. Delete the existing text and replace it with anything you like, or remove it entirely.
When you’re happy with your changes, commit as you did previously.
What you should see this point is a homepage with your modified website title, modified text on the homepage, and every project in the /content/projects folder.
Edit the pages
All of the default pages live in the /content/pages folder. Navigate to the /content/pages/about.md file and click the Edit button in the upper-right above the file contents. Edit the Markdown text beneath the frontmatter as you did previously for the homepage. When you’re happy with your About page contents, commit them as you did previously.
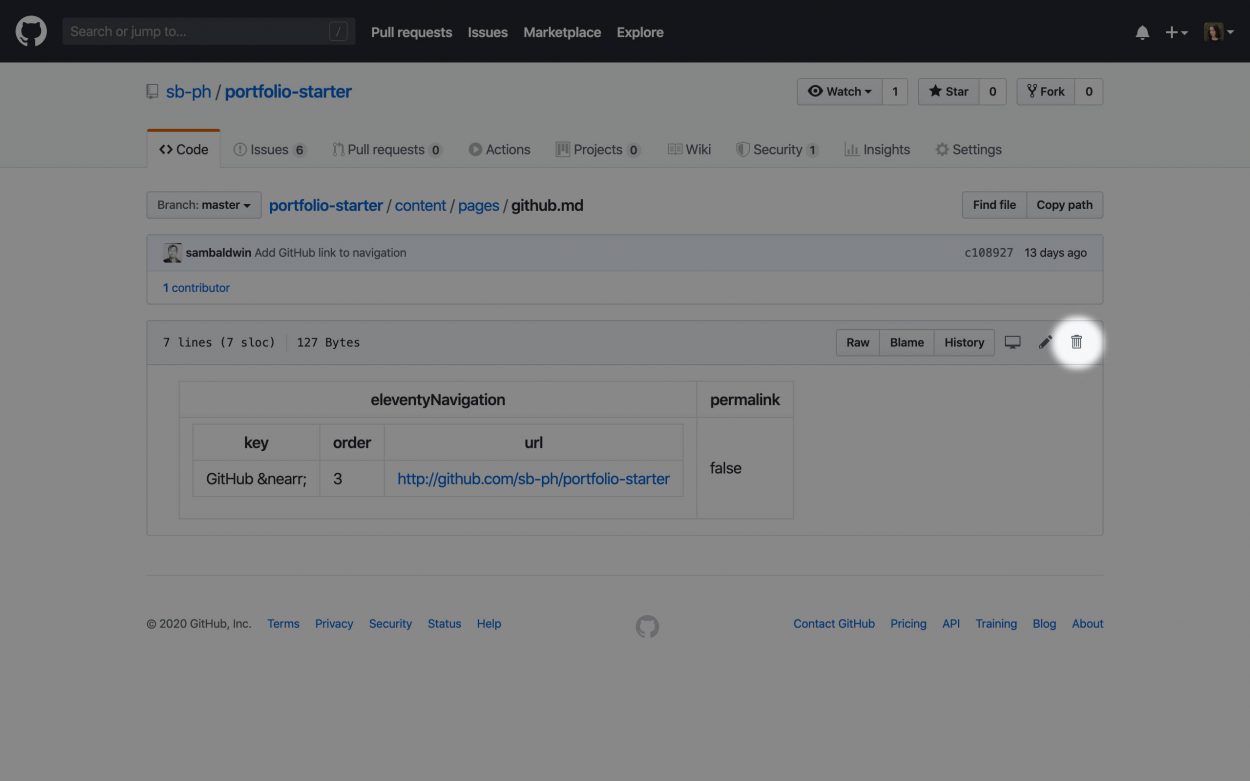
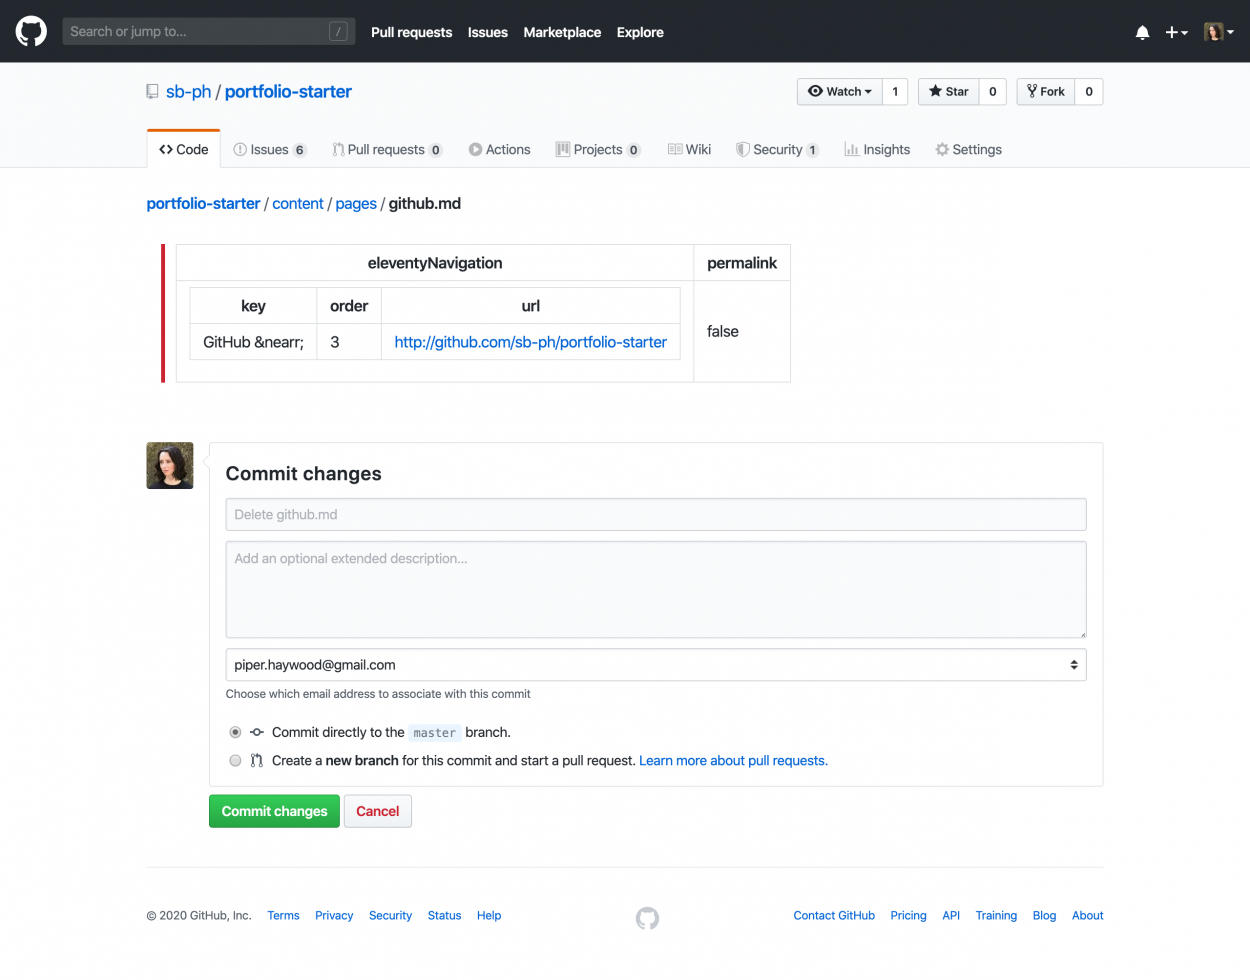
Next, remove the GitHub link from the navigation by deleting the /content/pages/github.md file. Navigate to the file and click the Delete button in the upper-right to remove it, then commit the deletion.
Remove the demo projects
Let’s get rid of the demo projects. First we’ll turn one of the projects in to a draft so that we have something to refer to later on, and then we’ll delete the rest of the projects.
In GitHub, navigate to the /content/projects folder and then click the first project in the list, and then click the Edit button to edit the file. Next, change the filename to _demo.md. The underscore _ before the filename tells Eleventy not to compile it in to a page, so we can safely keep this in our repository for reference. When you’re done renaming the file, commit your changes.
Next, navigate back to the /content/projects folder. Open up each project one-by-one, click the Delete button to remove it, and then commit your deletion.
In the end, your /content/projects folder structure should only include _demo.md. If your site has deployed successfully after all of your commits, you should no longer see any projects on the homepage.
Remove the demo posts
Now we’ll get rid of the demo posts. Navigate to the /content/posts folder in GitHub and then follow the same steps you took above for the projects.
Remove the demo media
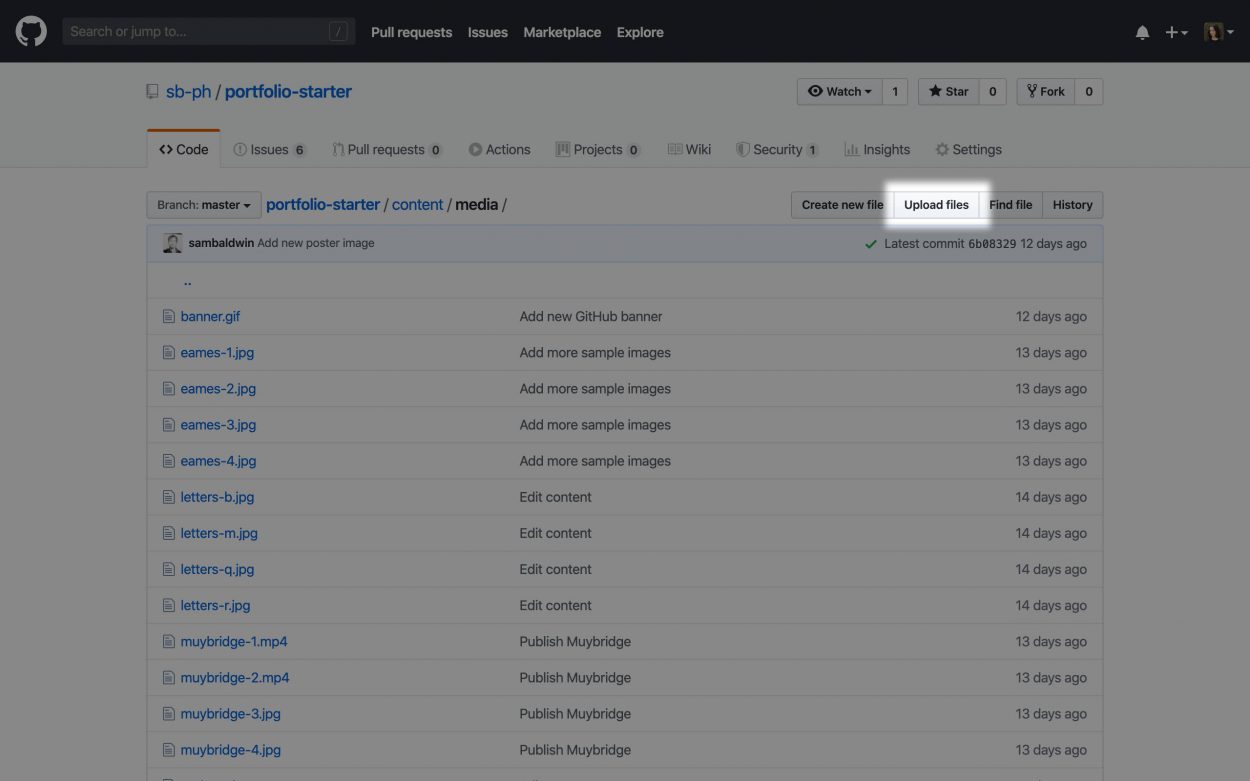
To get rid of the demo media, navigate to the /content/media folder in GitHub and then delete each of the files in this folder as you did with the posts and projects.
Add new content
You can add as much new content as you want. For now, we’ll try a project and a post. See the Portfolio Starter documentation for general guidance about media such as recommended dimensions, filesizes, and filetypes.
Add a project
To add a new project, you need to upload all of your images or MP4 video files to the /content/media folder and then create a new Markdown file in /content/projects.
We’ll start with the Markdown file. Navigate to the /content/projects folder in your GitHub repository and then click the “Create new file” button in the upper-right above the folder contents.
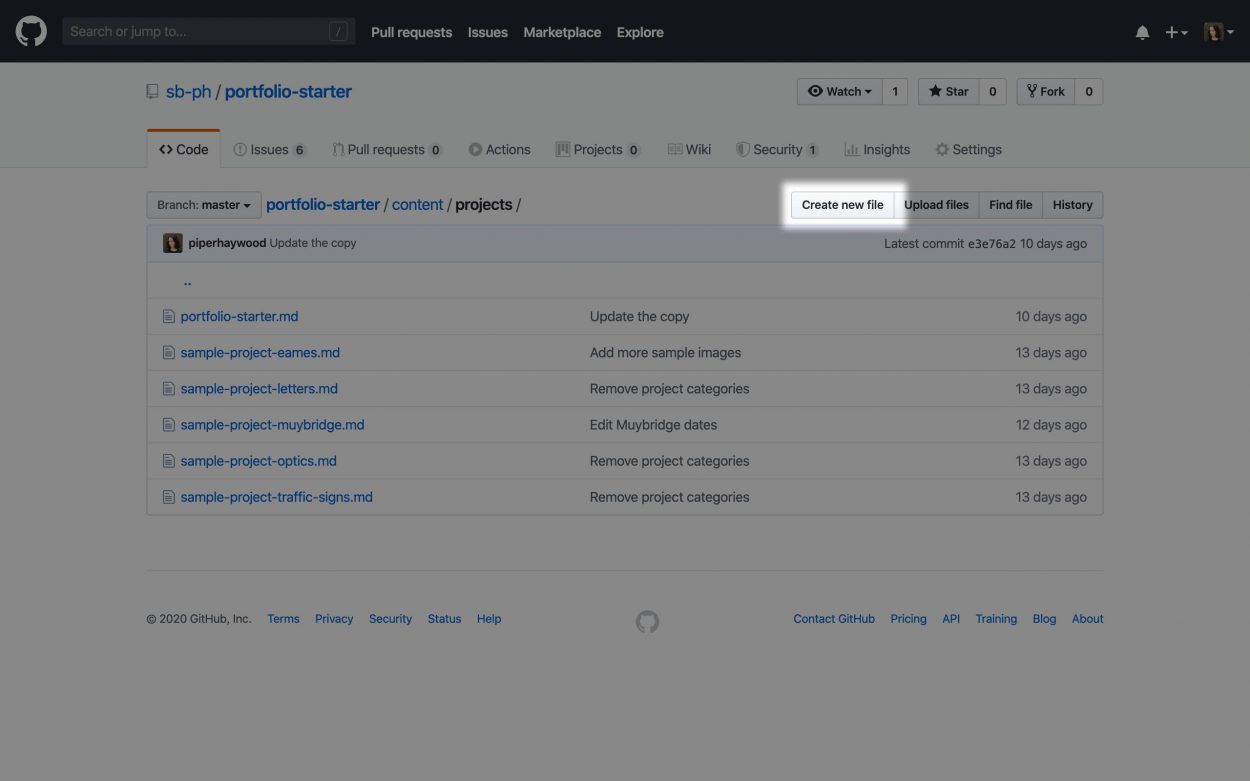
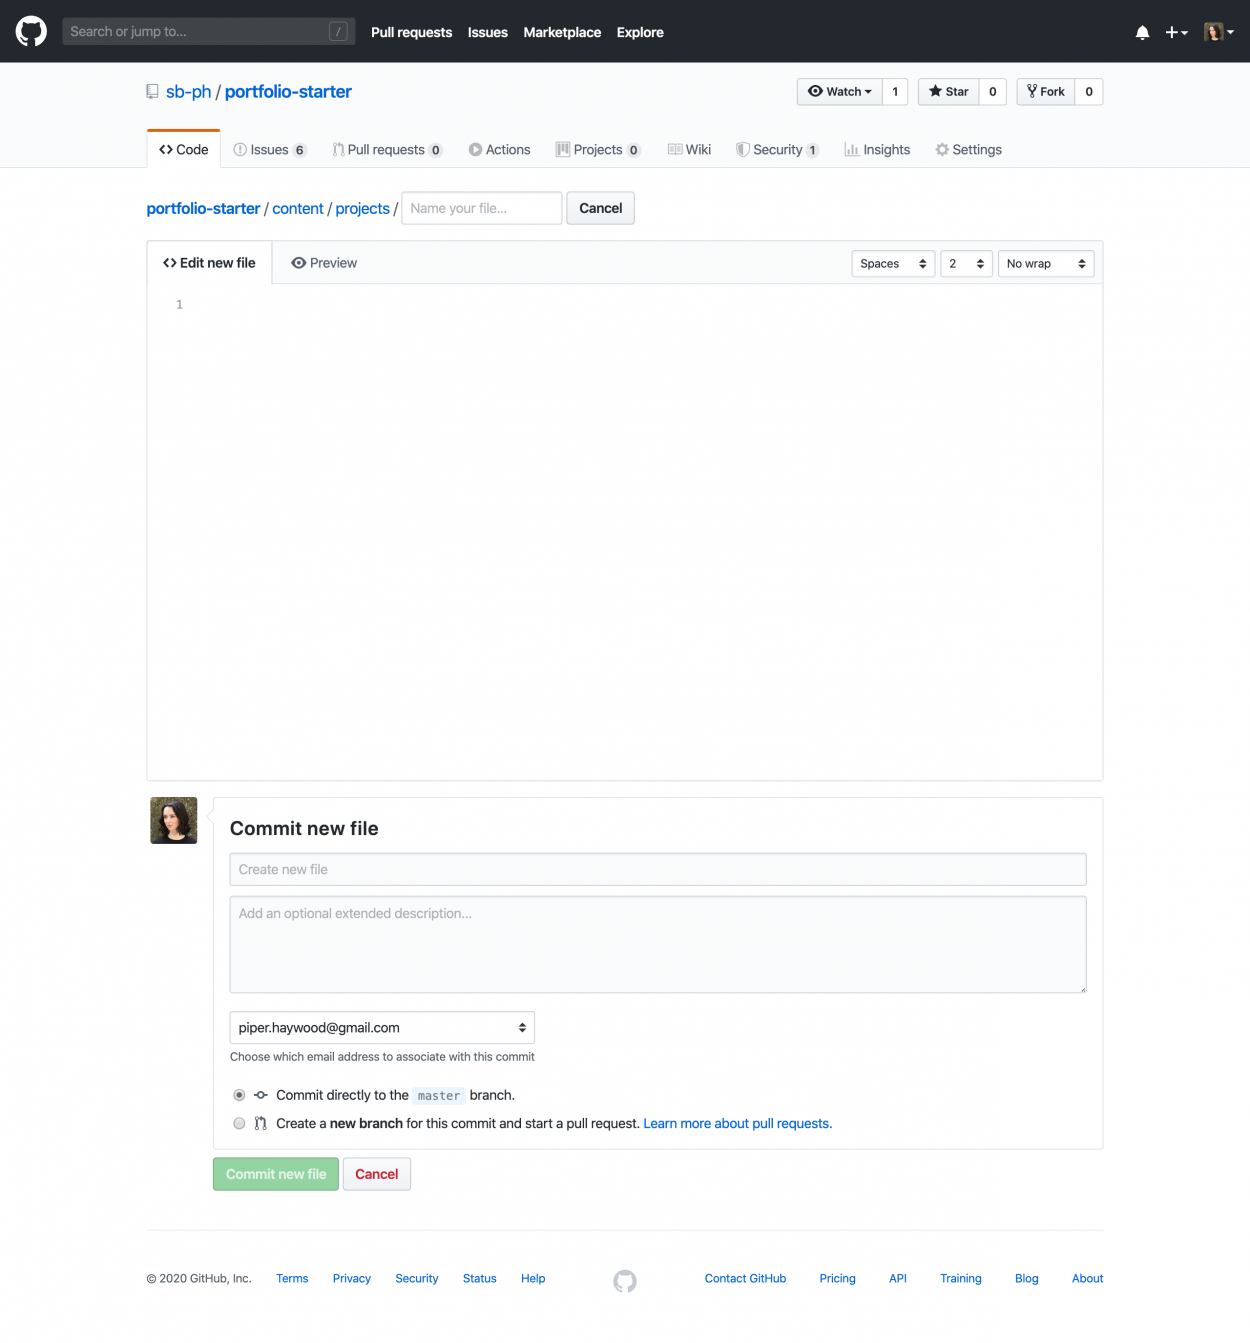
Your project filename should end in .md since it is written in Markdown. The filename is used to generate the project’s URL, so the rest of the filename should be a URL-safe combination of lowercase letters, numbers, and dashes.
Now we’ll add the project contents. Copy and paste the text below on to your project:
---
layout: project
title: Project title
dateEnd: 2020-04-20
media:
  - type: image
    filename: image-01.jpeg
    size: md
    alt: Malesuada euismod quam
    caption: Cras mattis consectetur purus sit amet fermentum
  - type: image
    filename: image-02.jpeg
    size: sm
    alt: Consectetur fermentum
    caption: Donec ullamcorper nulla non metus auctor fringilla
---
Be sure to change the title to the name of your project, and the end date should reflect the end date of the project in YYYY-MM-DD format. You can add a dateStart above dateEnd if you want a date range to be displayed.
The media property determines exactly which images and videos are displayed as well as which piece of media represents the project on the homepage. The syntax is important; each media block is indented from media and is preceded by a dash. For a full description of each of the properties (filename, size, etc.), see the Portfolio Starter documentation. For now, ensure that you have enough image blocks for all of your project images and that the filename, alt text, and caption for each image block correctly reflects each of your images.
Next, add a description to your project. Beneath the final --- marking the end of the frontmatter, write a project description. You can use Markdown to add links or any other formatting.
When you are happy with your project data and text, commit your changes as you have before.
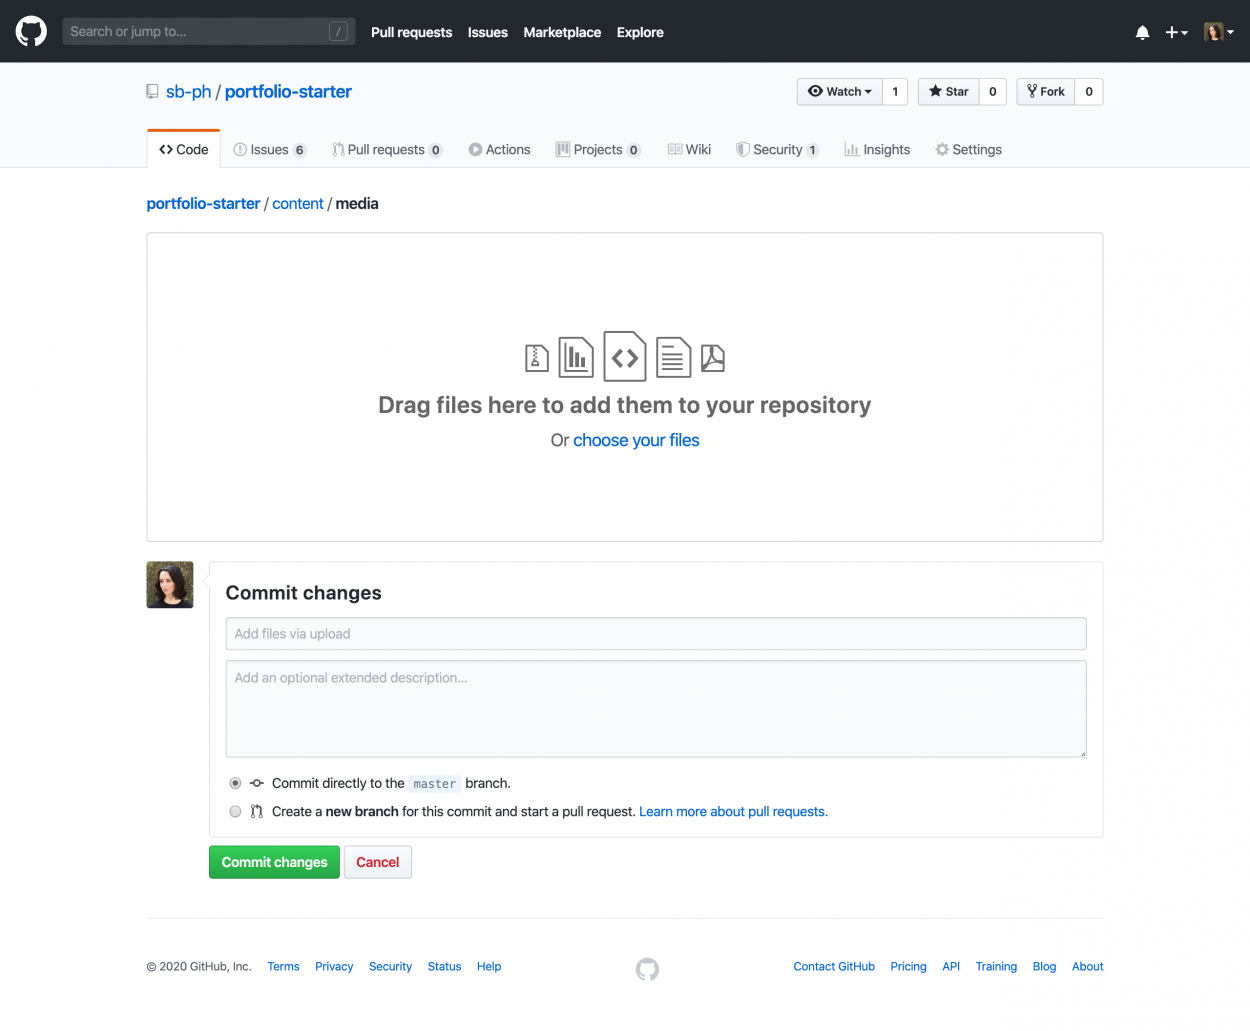
Next, upload your images. Navigate to the /content/media folder and click the “Upload files” button. Use the UI to upload your files, and then commit your changes.
If you refresh your site once the changes have deployed, you should now see a project on the homepage. If you don’t, check things in your Netlify dashboard to ensure that the deployment went through. If the image seems broken, make sure that the filename you listed in your project’s Markdown file exactly matches your image filename.
Add a post
Adding a post is very similar to adding a project, but posts don’t support the media property. Instead, all media or images must be added directly in the post’s Markdown contents.
To make a new post, navigate to the /content/projects folder in your GitHub repository and then click the “Create new file” button in the upper-right above the folder contents. Name your new post file something URL-safe that is similar to your title. For example if your new post is going to be titled “New site launched!”, you might want to name the file new-site-launched.md. Make sure the filename ends in .md so that Eleventy knows that it is Markdown.
Next, copy and paste the frontmatter text below in to your post file:
---
layout: post
title: New site launched!
date: 2020-04-20 15:00:00
---
Change the title to whatever you want your post title to be. The date should be formatted YYYY-MM-DD HH:MM:SS and represents your post’s publish date.
Beneath the frontmatter, write your post contents in Markdown. If you want to add an image, be sure that you have uploaded it to the content/media folder. The Markdown syntax for images is:
Of course change the description (the alt text) and the filename to reflect your image.
When you’re happy with your post contents, commit your changes as you have previously.
Take it further
There are a a bunch ways you could take all of this further, that’s the point of it being a starterkit!
Add a custom domain name
To add a custom domain name to your website, you have to follow Netlify’s custom domain name instructions. This can be slightly fiddly.
The simplest way to get a custom domain set up is to purchase it directly through Netlify. If you already have a domain name with a different registrar such as Hover or Namecheap, the simplest way to set it up is by using Netlify DNS.
Note that DNS can be delicate. The DNS records for your domain tell browsers where to find your website and tell email servers how to direct emails to you. Be sure to write down any existing DNS records before changing anything, work slowly and methodically.
Learn how to edit your site locally
Editing locally means working on your website files on your own computer. It can be a much nicer way to work since then you can see your new content as you create it before it is published to your live site.
To edit locally, you need to be wiling to run commands on the command line and you need to learn a bit about Git and dependencies. You have to have Git and version 8 or higher of Node.js installed on your computer.
The basic steps to get your new site set up locally are as follows:
- Clone your GitHub repository locally by running
git clone https://github.com/your-username/your-repo.git(replaceyour-usernameandyour-repo) - Install the dependencies by running
npm install - Run the command
npx @11ty/eleventy --serveto start a server
Once you have started the server, you’ll be able to view your site at http://localhost:8080/ and your local verson will reload every time you make a change to your styles, content, or templates.
I hope to publish a tutorial that outlines these steps in more detail, so keep an eye out.
Customise the CSS or fonts
You can customise the CSS either by editing the /content/css/index.css file locally as described above or by editing the file directly in GitHub.
Likewise, you can add or remove font files from /content/fonts. Be sure to check the font license before you add it to your repository. If you purchase a font, there is a good chance that you’re not allowed to publish it publicly in a code repo!
If you give this tutorial a try, let me know. I’m offering Digital Coffee sessions each week for as long as my schedule allows and would be happy to give some pointers.
This tutorial was originally written for the students in the LCC MA GMD program in lieu of an in-person workshop.