Published

Nan-nan’s cupcakes

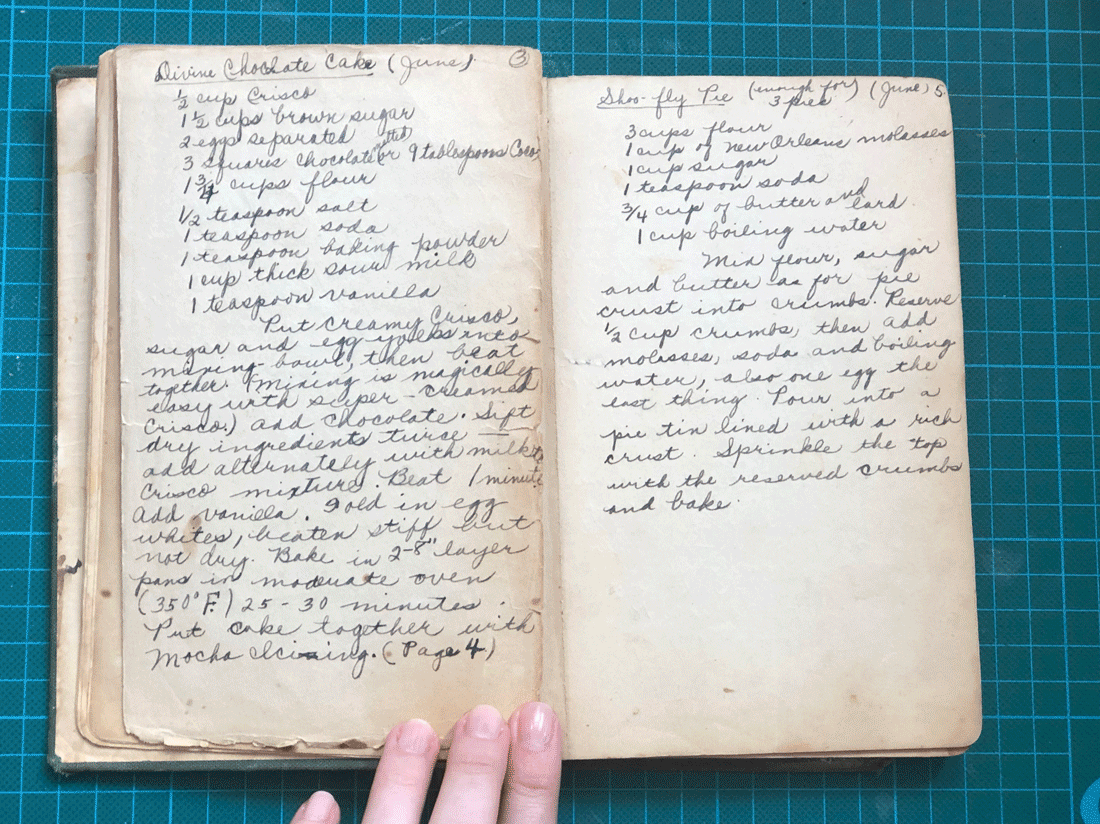
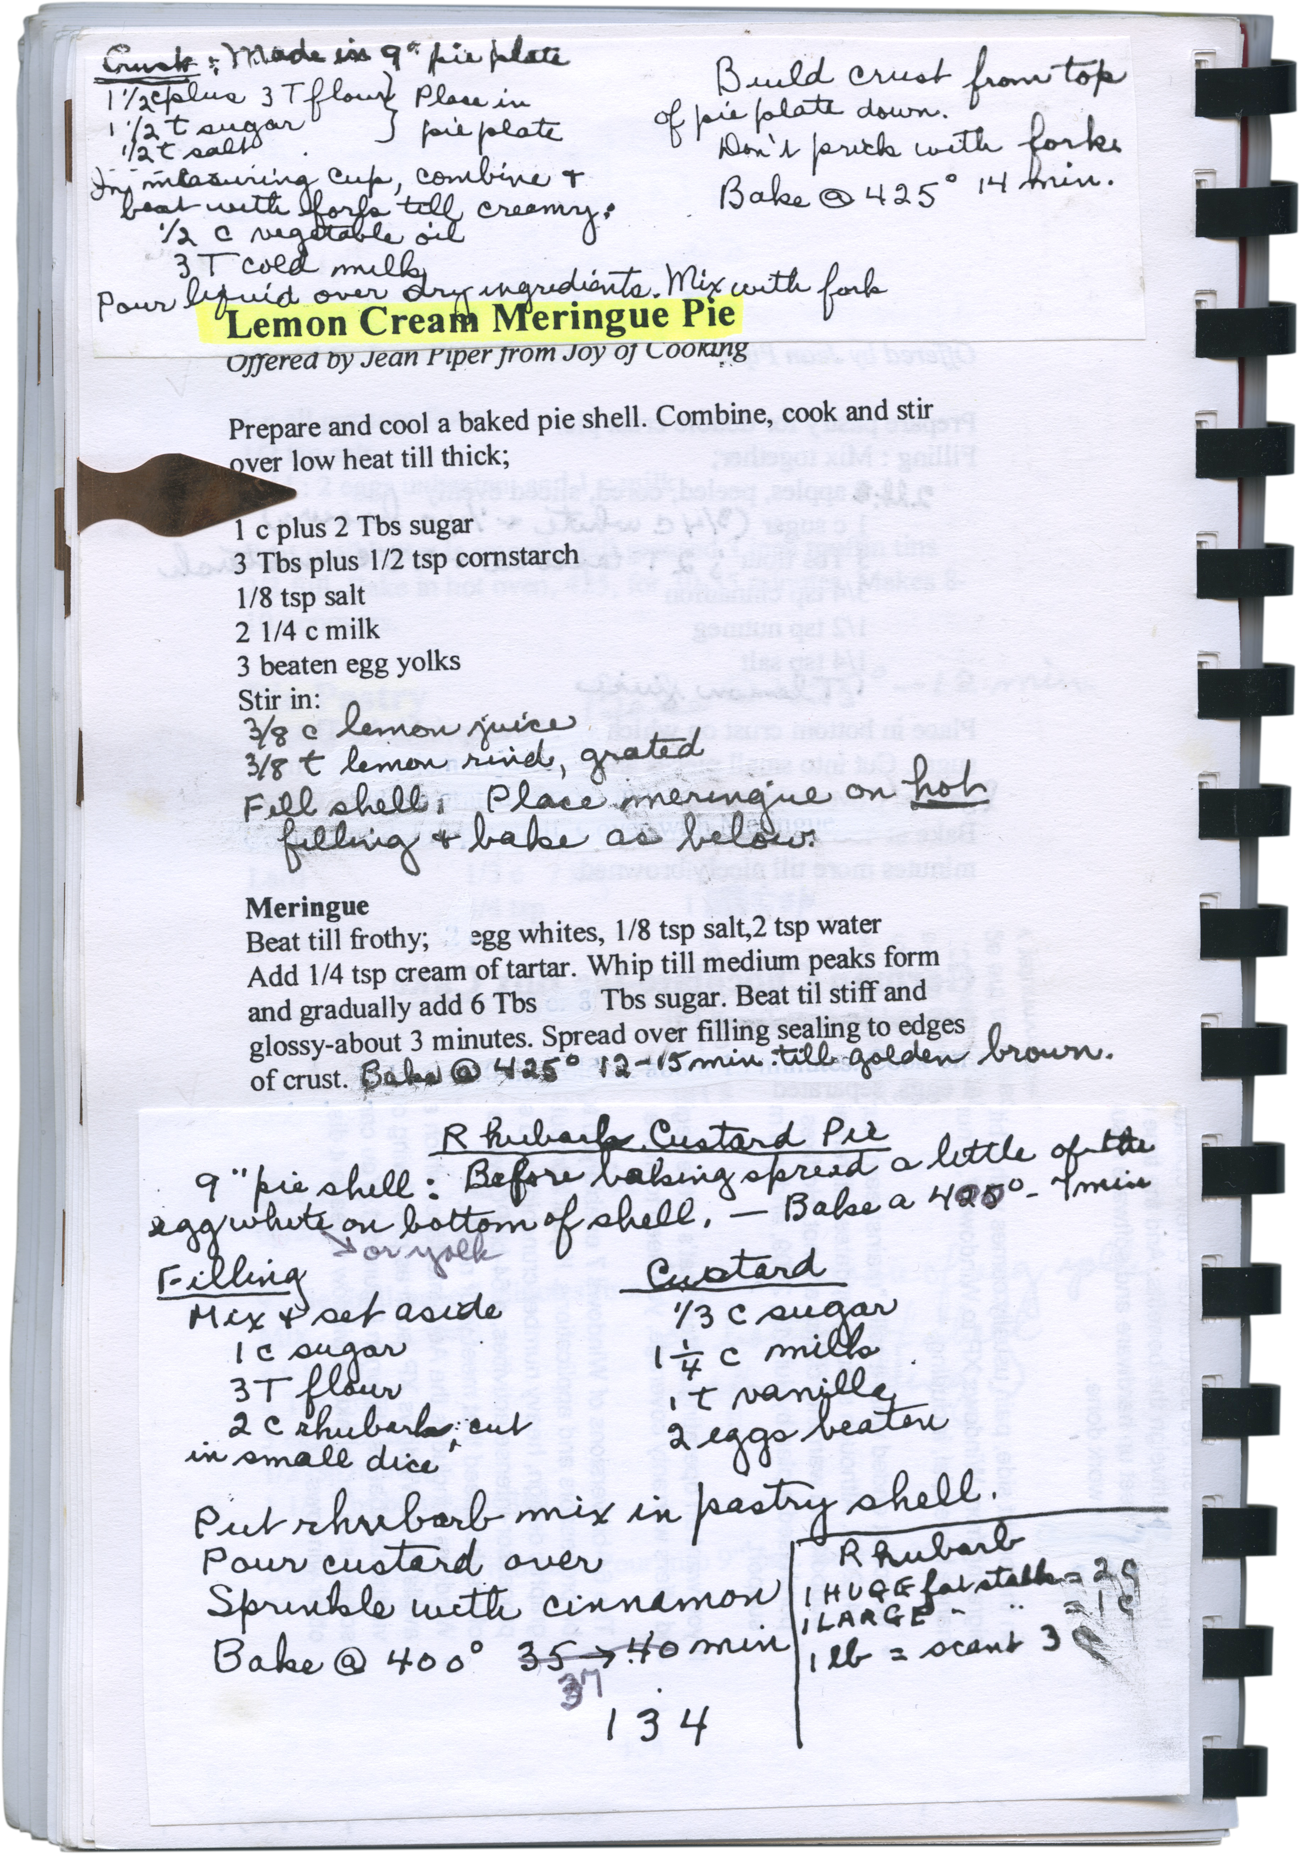
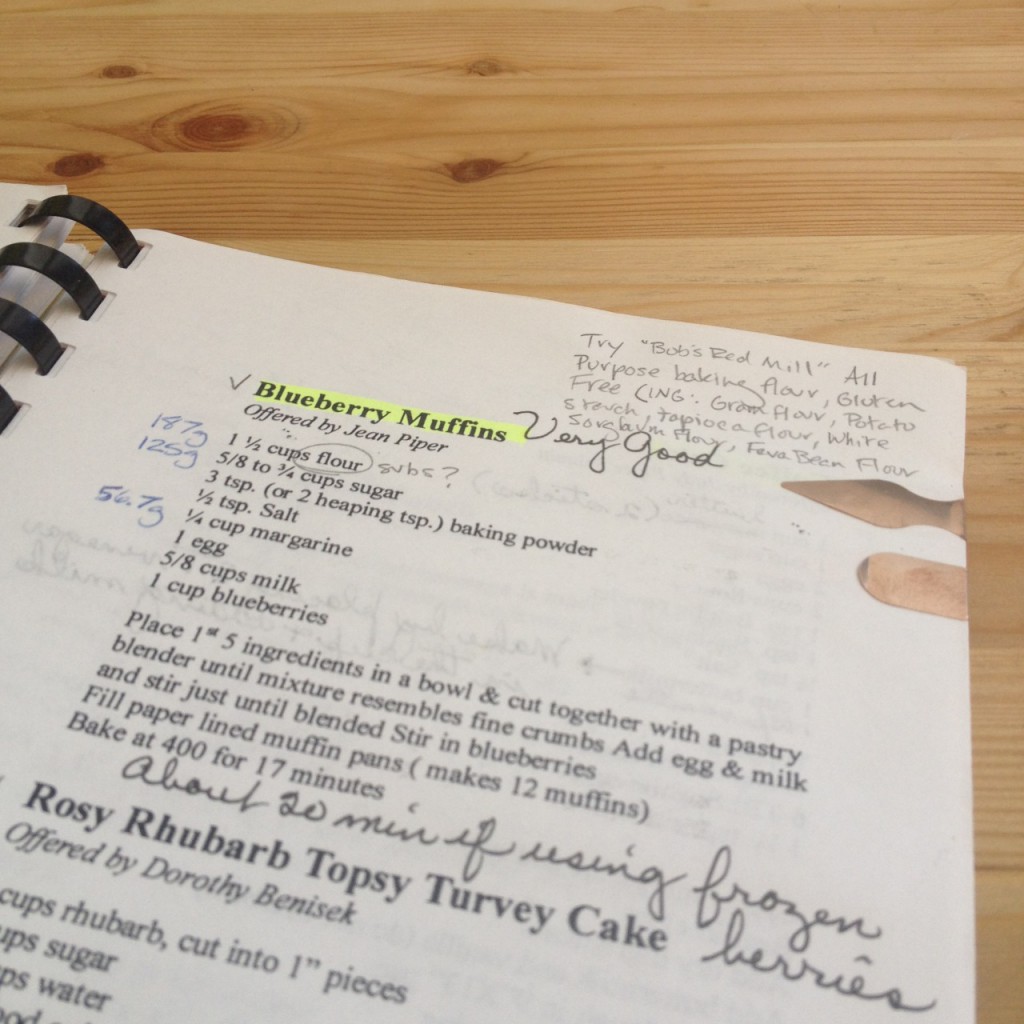
Looking through Nan-nan’s recipe books, the first thing that caught my eye was a recipe for cupcakes from her sister June, see below. I’ve preserved her notes and phrasing as much as possible but have adjusted certain elements to be more usable.

I’m an OK baker but more of a pies-and-cookies person. Every cake I’ve ever made seems a little meh. These were not meh, 10/10.


Cup Cakes

From June, Merle’s favorite. Good with baked icing or white fudge icing. Makes 12.

Preheat the oven to 350F (175C).

In a large bowl, cream together ½ c (113 g) softened unsalted butter, 1 c (200 g) sugar, ½ t salt, and 1 t vanilla extract until very fluffy and light. Next, beat in 4 egg yolks until thick and light in color. In another bowl, sift together 2 c (230 g) all purpose flour and 2 t baking powder. In small, alternating amounts, add the flour mixture and ⅔ c (158 ml) milk to the butter mixture. Beat after each addition, until smooth.

Pour the batter in to a lined cupcake tin, filling each cup ⅔ of the way. Bake in a moderate oven, about 350F (175C), 25 to 30 minutes. Turn the tin once halfway through if you find one side is browning more than the other.

Additional notes

Note that the cupcake recipe originally calls for Spry, a vegetable shortening. I’ve substituted butter here since that’s what I’ve got.

The original recipe also specified 2 c of sifted flour, with an additional note that specified Gold Medal or Swans Down flour. Gold Medal is usually plain / all purpose flour, and Swans Down only produces cake flour AFAIK. This made determining the metric measurement kind of ambiguous, 2 c sifted all purpose flour is significantly different than cake flour. The measurement below worked well ultimately, but I’d like to try cake flour eventually so will need to keep this in mind.

She originally said it makes 18, but I found that it is much closer to 12 in a 12-cup cupcake tin with cups that measured 2″ (4.25 cm) in diameter across the base. The flour debacle might have caused the difference.

The cupcakes supposedly go well with “baked icing”, something I had never come across before. I tried it with baked frosting and failed *spectacularly*. I can see that it could be great though, kind of like a molasses-y meringue on top, so I’ll try again and note here if successful.

Published

Nan-nan’s recipe books

Handwritten recipes by my paternal grandmother

My cousin kindly let me borrow my paternal grandmother’s cookbooks for the next few months until we meet again in August. One is a comb-bound cookbook assembled by the community of Worthington, OH. The other is more of a diary where she recorded her favourite recipes. I had NO idea that these books existed. I had always been told she didn’t keep track of her recipes, so this is pretty exciting.

It’s going to take a while to go through the cookbooks, so I took some rough photos of all of the spreads in case I don’t get through it all by the time I return them. It’s classic late 20th-century Midwestern fare. Most of the pages are dedicated to sweets of all sorts, and there are a fair few recipes that call for Velveeta cheese, Jello, or Campbell’s cream of mushroom soup. I’ll probably steer clear of the gelatine “salads” and sadly have to avoid the cheesiest of things, but I’m up for everything else!

I’ll share some of Nan-nan’s recipes in future notes as I try them.

Published

A+ hummus using one can of chickpeas

Edit 8 June 2021: So when I originally wrote this about three years ago, I was using an *extremely* crappy food processor. I now have a sort of Nutribullet knockoff and it grinds the ingredients to a superb consistency without the extra faff of doing things little-by-little. Both methods are presented below, depending on your device.

I finally cracked it. The madness is in the method. To make good hummus using one 14.5oz/400g can of chickpeas, see instructions below depending on your device.

Related, the Super Kim can opener by Nogent is the only can opener that should exist.


With a high-powered blender or food processor

If you’ve got a food processor or blender that really obliterates everything in its path, you can get away with putting it all in at once. You want to be conservative with the garlic in this case because you aren’t giving the garlic any time to mellow out in the lemon juice.

Use the softest salted chickpeas that you can find. Goya canned chickpeas are a good call if you can find them. If you go with a no-salt can, your hummus will probably taste a bit lackluster.

***

In a blender, combine 1 can of chickpeas, 3 tbsp fresh lemon juice, ½ clove of garlic, 4 tbsp tahini, 5 tbsp water, ½ tsp sea salt, and a good pinch of ground cumin (optional).

Blend it all together until very smooth, at least 40 seconds at a pretty high power. Scrape down the sides and blend again if some of the ingredients get stuck. Taste the mixture and add more salt, water, or lemon juice if the taste or consistency isn’t quite as you like.

To serve, drizzle with good quality olive oil and optionally garnish with smoked paprika, za’tar, chopped coriander, toasted cumin seeds, kawarma, extra chickpeas, etc.


With a crappy food processor

If your food processor is not so great, like the tiny food processor attachment that came with my old stick blender, you need to break down the steps a bit.

The issue is that the tahini can be a bit “mealy” when it doesn’t get fully emulsified or gets stuck under the blades, and the final texture can be a bit gritty if the chickpeas aren’t soft enough. Some people recommend peeling (!) the chickpeas and while I imagine this helps, it’s not something I’m ever going to realistically do.

***

Put 4 tbsp lemon juice and 1 clove of garlic in a food processor and blend until the garlic is finely chopped. Let the lemon and garlic sit together in the food processor for a bit during the next step so that the garlic flavor chills out.*

Next, check the firmness of your chickpeas. Some tinned chickpeas are quite soft, most are very firm. (In the UK, I seem to remember that Tesco’s own brand is weirdly good?! In the US, Goya brand works great.) Open and rinse 1 can of chickpeas, then pop one in your mouth. Try to squish it between your tongue and the roof of your mouth. If it doesn’t give super easily, then you’ll want to soften them a bit to get a better final texture.

If you do need to soften your canned chickpeas, dump them in to a pot with enough water to cover and ½ scant tsp baking soda. Bring to a boil and then simmer until they get pretty soft and the skins are separating from the legumes, about 20 minutes. When ready, drain them and allow them to cool. If you want to use them immediately, carefully rinse them in cold water.

Now, you’ll add the fats gradually along with a little water. The goal is to emulsify the fat in to the liquid without causing it to separate. Put 4 tbsp tahini in the food processor with the lemon / garlic mixture and blend just until you get a smooth paste. Next add 4 tbsp cold water and blend until very smooth. With the addition of the water, it will get more pale and fluff up a little.

Add your chickpeas, a good pinch of ground cumin, and about ½ tsp sea salt to the food processor and blend until smooth. Taste it and add more salt or lemon juice as necessary. Add a bit of cold water if you like it more fluffy.

To serve, see serving notes in the alternate method above.

* Allicin is responsible for that intense sulfur flavor in raw garlic. Allicin is one of the things that gives garlic its health qualities, but it can also put too much of an edge on some dishes. Mincing or blending raw garlic directly in to lemon cuts denatures allinase, one of the compounds in garlic that creates allicin. Read more about this on The Garlic Farm blog.

Edit 1 09 2020: Increased tahini amount and added baking soda technique inspired by a recipe by Ottolenghi and Tamimi and a Cookie & Kate recipe.

Published

Grandma Piper’s Sugar Cookies

The best & easy
Bake @ 375°F (190°C) 8 min

Cream:

  • 1 c (226 g) butter
  • 1 c (200 g) granulated sugar

Beat in:

  • 1 egg
  • ½ t vanilla

Add:

  • ½ t baking powder
  • 1 c (120 g) wheat flour
  • 1 ½ c (188 g) white flour

Use 3 trays. Make a fat rope. Pinch off pieces on to trays. Flatten each 3x by dipping ⅓c measure into sugar in ½c measure. Cool cookies on newspaper.


The recipe above was written by hand in to a community cookbook she gave me in 2001. It retains her original wording and formatting, though I have added gram and Celsius conversions.

We miss you so much.

Published

Grandma Piper’s Blueberry Muffins

Photo of Grandma Piper's blueberry muffin recipe

Grandma Piper’s recipe in the First Presbyterian Church of La Grange Really Cooks, given to me by my grandparents for Christmas when I was 13

My Grandma Piper’s blueberry muffins. There have never been better. These keep for a good few days in an airtight container but are definitely best eaten fresh from the oven, split and spread with a little butter.

The original recipe is in USA cups, and I’ve tried to provide metric conversions below using Delia’s charts for reference. Ignore the conversions written in the actual photo, those were pulled from a less reliable source.

I almost always use frozen blueberries since they’re cheaper and available year-round. If using frozen berries, soak them briefly in water and then drain to remove the excess ice crystals.

Read more