Published
Baaaaaaaaaaaa
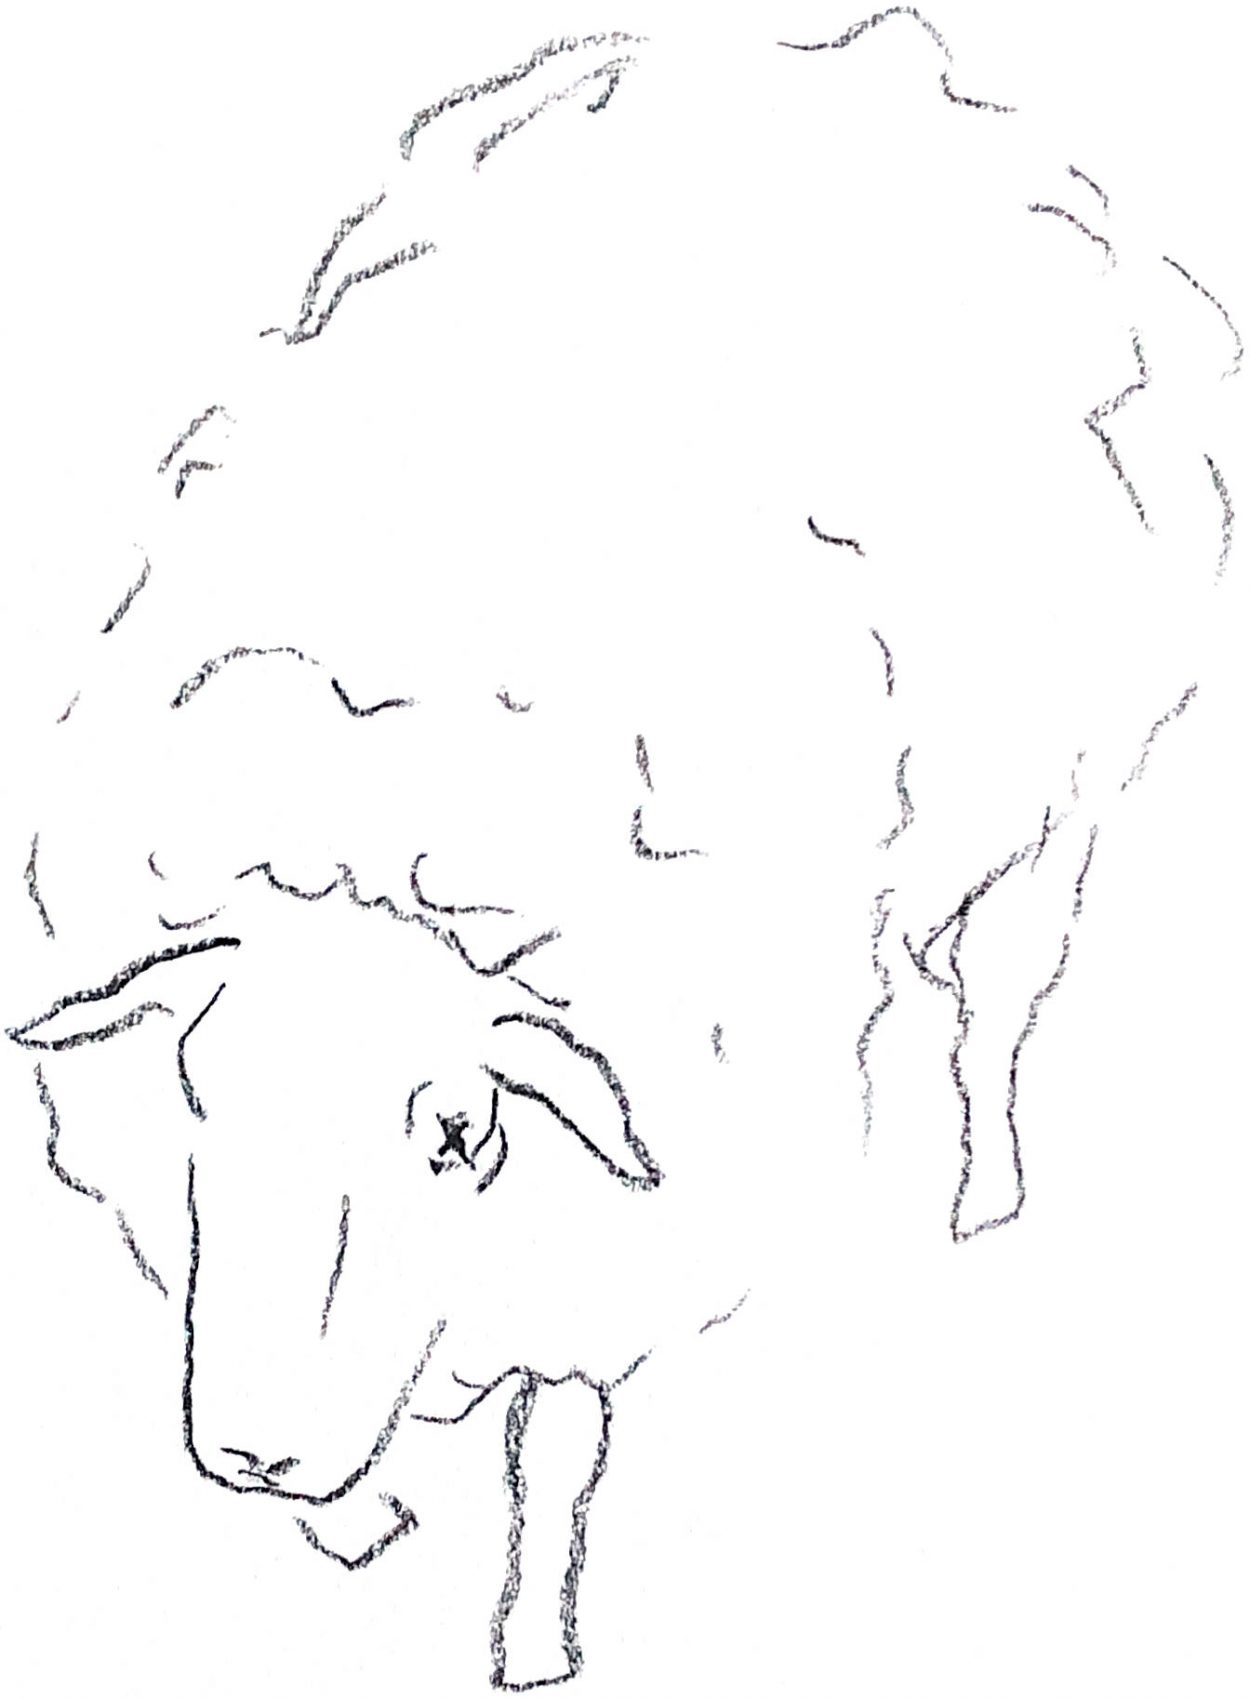
Couldn’t see the sheep’s eyes and couldn’t remember if the pupils are horizontal or vertical, so it got both. ✨
Published
Couldn’t see the sheep’s eyes and couldn’t remember if the pupils are horizontal or vertical, so it got both. ✨
Published
I’ve been growing my hair out for a little while. I loved having it short, but the £££ required to keep it up is not something I’m willing to commit to just yet. I’d like to give long hair a try but get put off when it gets around shoulder length. Not keen on feeling it around my neck and I hate finding long hairs on my sweater, pillow, etc.
It’s at the I-can’t-stand-it point now, looking pretty Basset Hound-y, so time to cut it.
I followed this YouTube tutorial with a few modifications to account for my wavy hair and lack of any straightening options. I skipped the trimming steps since I’m ok with the length right now, it just needs a better shape so that it’s less heavy at the bottom.
These are the basic steps to add layers.
I’m pretty happy with the results. This technique will do for now, but I’ll absolutely head back to a stylist once all of this is over with and we’re settled somewhere. Will miss Dean. 🙁
Related: See this video for what seems to be a decent scissor-over-comb men’s haircut tutorial…
Published
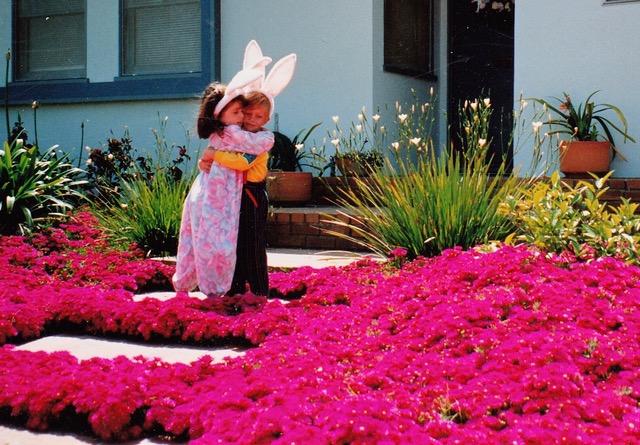
Easter 1992, photo taken by my mom, I think. Me and my best bud. I know iceplant is invasive in southern California, but man was it pretty.
Published
John makes the best margaritas, finally texted him for the ratios. Needs must!
Most recipes online seem to call for about 2 oz tequila + 1 oz triple sec + 1 oz lime juice (2:1:1). This is way too intense IMO, almost feels more like a martini or something (that’s not the right analogy, but you get what I mean). The extra sweetness from additional triple sec balances things out. I’m calling for Cointreau below because that’s John’s recommendation.
Combine 2 parts tequila + 2 parts Cointreau + 1 part fresh lime juice (2:2:1). If you’re making two, 3 oz tequila + 3 oz Cointreau + 1½ oz fresh lime juice works super well (I tried this using an egg cup as an ounce measure due to where we’re at, YMMV). Shake thoroughly with ice, then strain into one or more glasses of fresh ice. Or use a single huge cube of ice if you’re at chez Goods. If it’s your preference, rub a wedge of lime around the rim of the glass and dip in to coarse salt before pouring in the drink.
Published
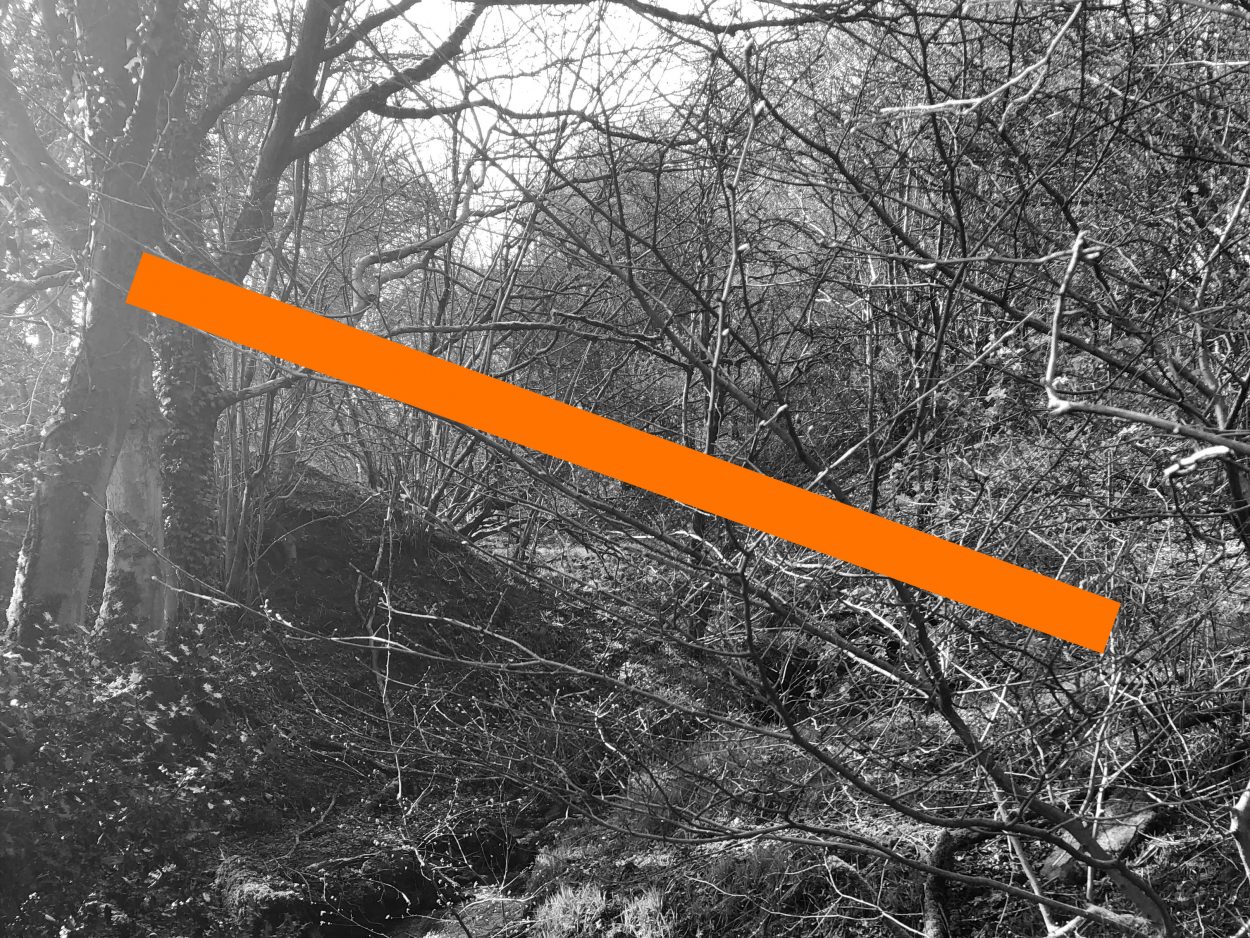
From a field in Addingham.
A cat started following us on that walk, rubbing against our legs. Didn’t feel like it was right to pet it though. ;_;
All the cats get all the pets when this pandemic ends.
Published
Note to self: position:fixed; is not respected if the fixed element is within a transformed element.
See a very old meyerweb.com article on the topic. Apparently this is expected behaviour, not a bug, hence why people are still encountering this funkiness nine years after Eric Meyer’s article. As he suggests, it’s a little counter-intuitive!
In my case, it related to a fixed element within a <div> that was being transitioned from off screen to on the screen. I was able to get around it by reversing the transform so that when the element needed to be fixed, I set the containing element to transform: none;. That wouldn’t work in every case though, so YMMV.
Published
My old Instagram account has been languishing unused for about two years, finally got round to moving the images and videos over here. Now I’ll be keeping all that content on this site in a photolog. If they open up their API a bit someday then I’ll syndicate from here to there, but I’m not holding my breath.
Note to self: use Handbrake to convert .mov videos to .mp4. The standard “Fast 1080p30” preset (see docs) is fine for now.
Published
Lea Verou just published a blog post about the LCH color space. This is super exciting, see her post for detail. Specifically, the improvement has to do with the perceptual uniformity and lightness being visually consistent no matter the hue.
The best way to get a feel for this is to experiment with her LCH color picker. Drag the hue value back and forth, and you’ll see that the tonality of the background remains consistent. It doesn’t suddenly feel a lot lighter in yellow than it does in blue. Do the same thing in an HSL color picker and you’ll feel the difference.
This would help a lot with the color on my site. I’ve never been 100% happy with how the color is handled because it is too hard to control the lightness and thus the legibility. See the List page for a clear example of this, posts in June and February are particularly hard to read. LCH would solve this!
Published

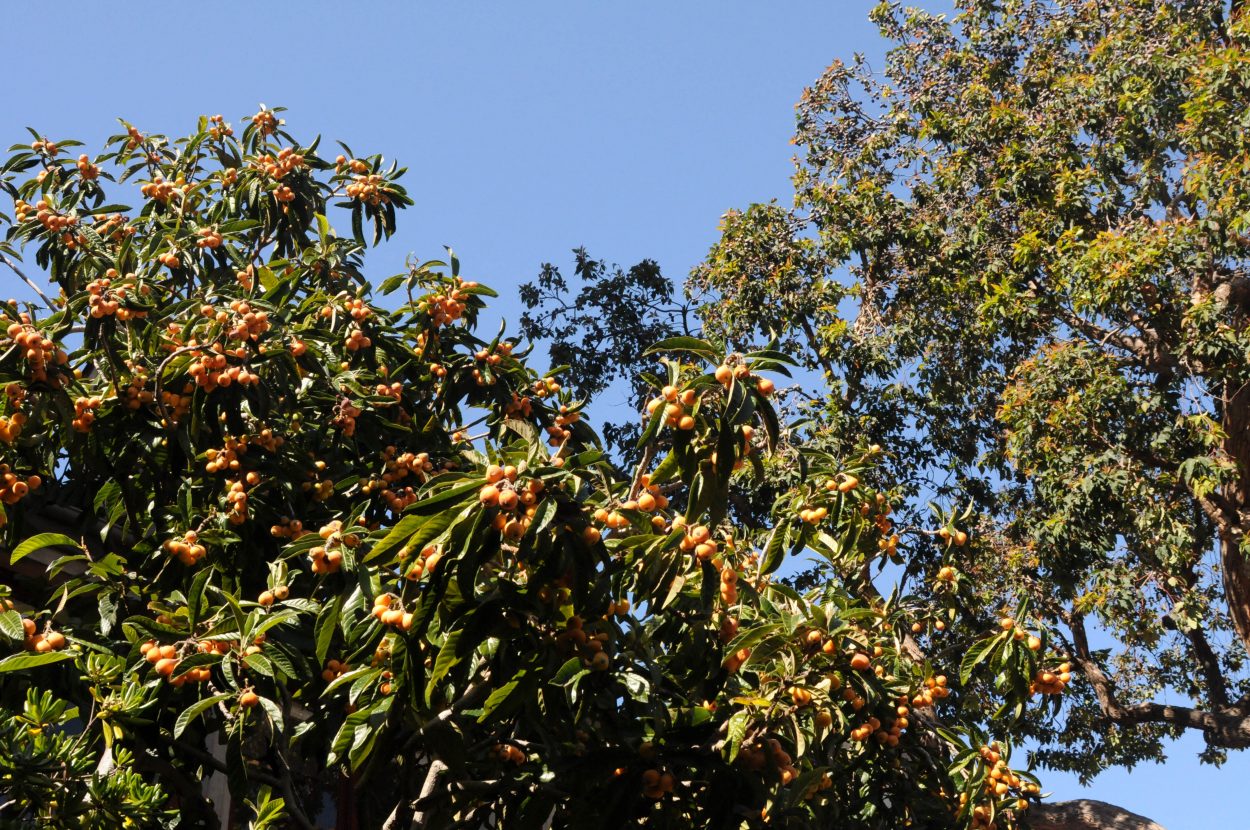
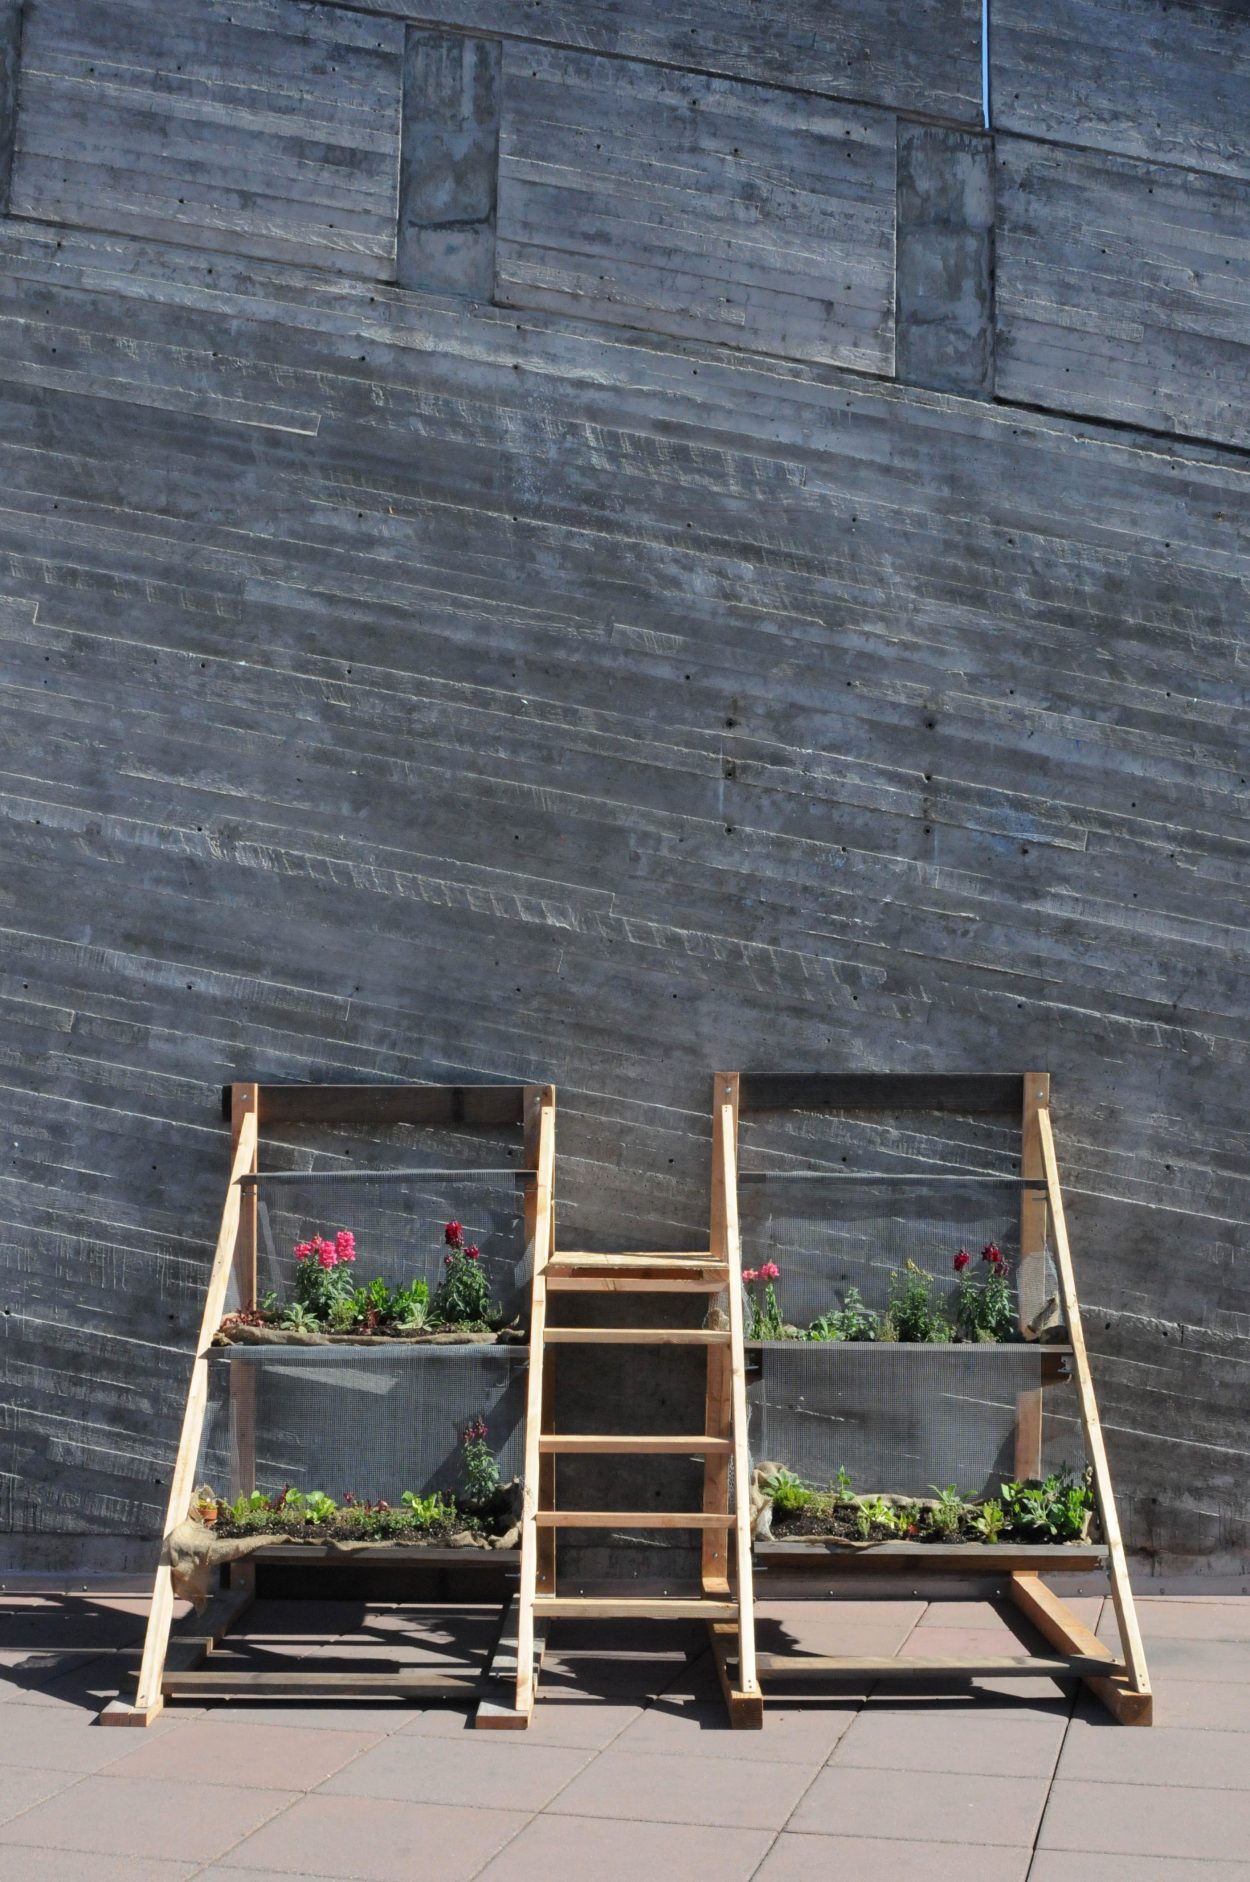
SFAI is closing indefinitely. Such sad news. It sounds like the CoViD-19 situation was the nail in the coffin.
I took a painting course there during the summer before my senior year of high school. I lived in the East Bay and took BART or drove over the Bay Bridge every day. It’s the sort of place I’d want to be if I had decided to keep studying art. A place where you could get lost and be left to your own devices, sort of like the old Foulis building at GSA but more labyrinthine.
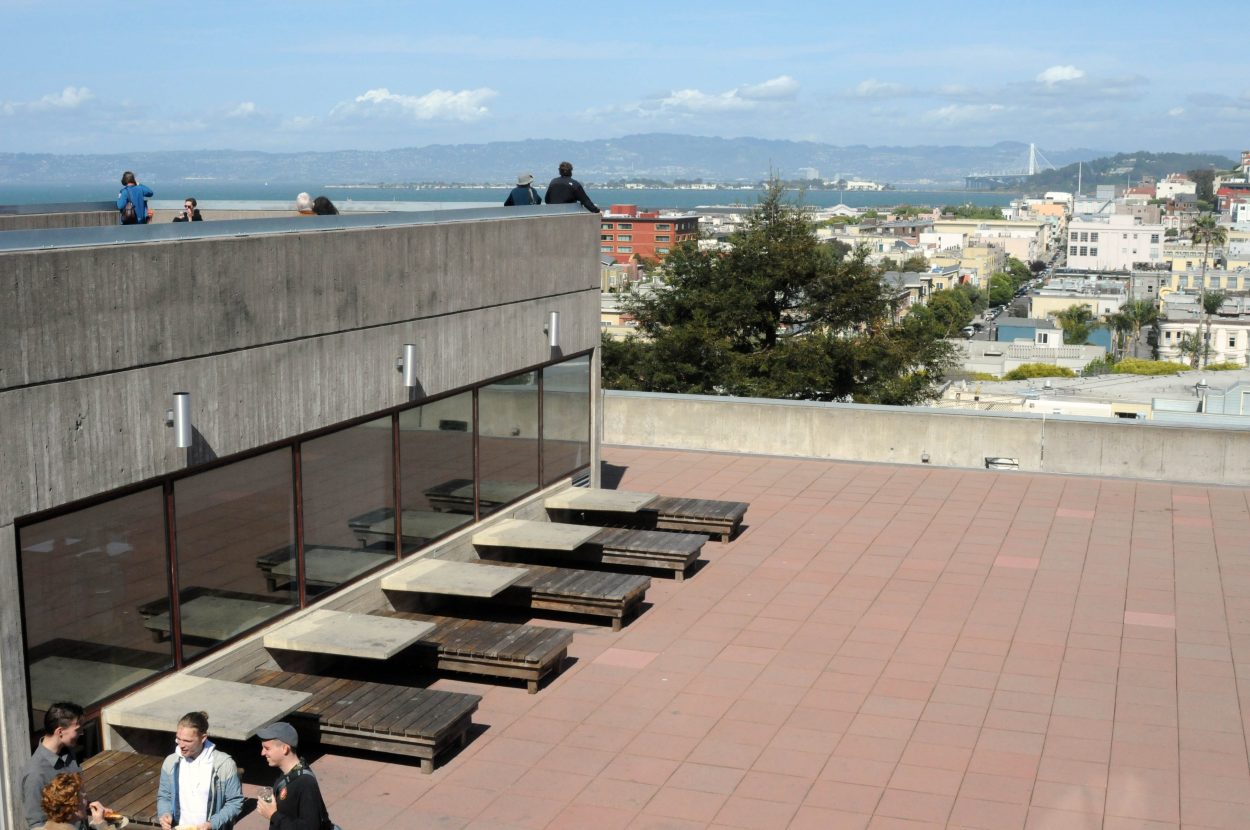
The school has been around for almost 150 years. Diego Rivera painted a huge mural in the student-directed gallery in the 1930s. The photography department was founded by Ansel Adams. San Francisco’s wild parrots sometimes roost loudly in the loquat tree in the Spanish courtyard. I can’t think of anywhere in SF that offers better views of the city and the bay, for free from the Brutalist ampitheater or for the price of a bagel and a coffee at the cafe.
It’s one of my favourite places. Very sad to see it go.
Published
Just attended a virtual rehearsal with Musarc and it was marvellous. Hopefully the first of many. Fingers crossed that they continue the digital format even after we can touch once again, at least once in a while for those far away.